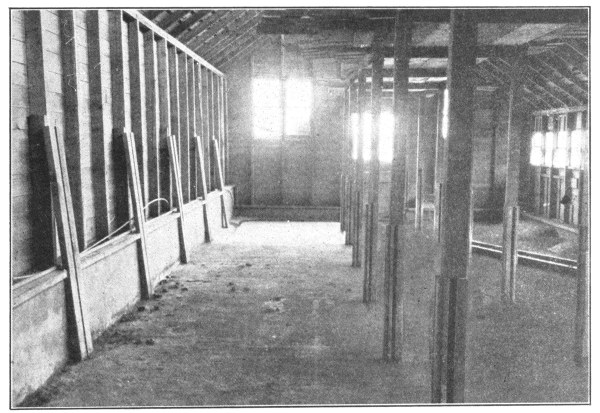
Feeding Troughs, Racks and Mangers
Reading edition
With a progressive farmer, the health of his livestock is second in importance only to that of his family. Concrete is a great factor in promoting and preserving health. With concrete troughs, animals are seldom “off their feed”: there are no slivers to stick into their gums. Even with wet feed, concrete troughs are never sour.
Concrete does not rot and become infested with disease germs. Such troughs and mangers can be thoroughly disinfected without injuring them.
Troughs for Horses, Cattle, and Sheep
In general, the method of constructing feeding troughs and mangers for horses and cattle is practically the same as for Watering Troughs and Tanks, page 74. An outdoor trough, suitable for feeding grain or silage to cattle and horses, is shown on page 48. (However, most farmers will prefer not to locate a feeding trough in a fence corner.) This trough is 10 feet long and 2 feet 2 inches wide, outside measurements. The bottom is 4 inches thick as also are the side and end walls at the top, but these walls slope on the inside to a thickness of 6 inches at the bottom. This extra thickness makes not only a stronger feeding trough, but also one more easily cleaned out. The entire trough is reinforced with heavy woven wire fencing laid within 1 inch of the bottom and the same distance from the inside face of the side walls. The trough is held 1 foot 4 inches above ground by concrete benches, 2 feet 2 inches wide, 1 foot thick, and extending 3 feet below the ground or feeding floor surface.
In locating troughs, follow the same principles laid down under Feeding Floors. Dig the trenches for the concrete supports and carry the concrete (mixed 1: 2: 4) to the necessary height by means of open box forms similar to the one shown on page 36. Use a spirit level to get the tops of these supports even. Immediately set the outside trough form, previously made with openings in the bottom board, to match the concrete supports. Provide a 2-inch drain hole, corked with a greased, tapering wooden plug long enough to extend through the concrete. Place 1 inch of concrete over the bottom, lay the heavy woven wire fencing so that it will extend up into the side walls. Tamp in the bottom the remaining 3 inches of concrete. Finish this concrete with a steel trowel. At once set in the sloping inside mold, built as one piece and without a bottom. Fill the space between the inside and outside forms with wet concrete. After the concrete is hard enough to bear considerable pressure of the thumb (usually five to seven hours), carefully remove the inside mold. No painting with neat cement (cement mixed with water) or plastering will be needed if the inside form is smooth. Do not take down the outside forms for two weeks. To make this same trough of suitable height for small calves or sheep, place around it a fill of gravel of the necessary depth. Two men can build such a trough in less than a day.
Materials Required
Crushed rock or screened gravel 1 cubic yard at $1.10 $1.10
Sand ½ cubic yard at $1.00 .50
Portland cement 1½ barrels at $2.50 3.75
$5.35
Feeding Troughs for Hogs
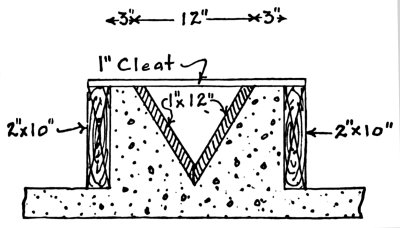
Feeding troughs for hogs are usually built as a part of the feeding floor, according to the plan shown, and similar to Watering Troughs, page 74.
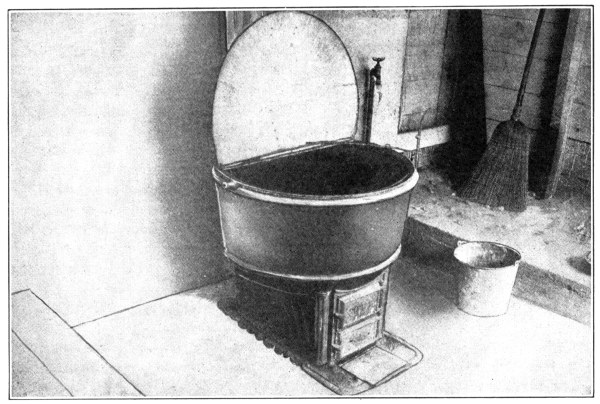
A Fire-protected Feed Cooker
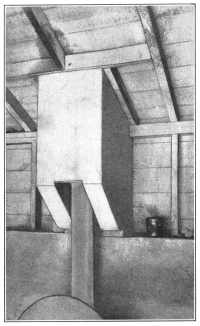
Concrete is a first aid to the farmer in preventing fires.
The photographs shown here are of a wooden building in which a feed cooker for hogs and poultry is installed.
Discovery of a fire in the building a few years ago led this farmer to thoroughly protect his building by surrounding his cooker with that most fireproof material—concrete.
The old wooden floor was first torn out, a fill of coarse gravel tamped in, and a 5-inch floor of concrete laid on top, mixed 1: 2½: 5. Immediately under and around the cooker the floor was dropped down 8 inches to prevent chance sparks from blowing about.
At the back of the cooker, on the 2 by 4-inch studding, heavy woven wire was securely fastened, and by temporarily placing a wooden wall 4 inches in front, to act as a form, an 8-inch concrete wall was built. This wall was made 8 feet wide and 5 feet high. The foundation for the wall extends 3 feet below the floor level.
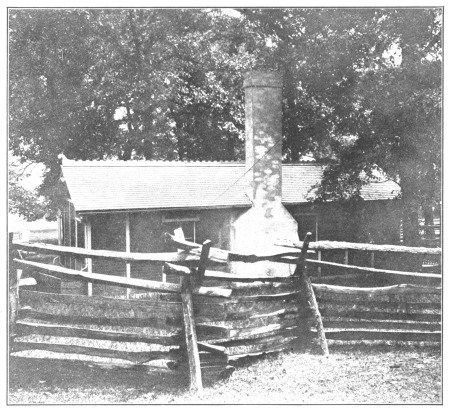
On the top of this wall rests the chimney. The chimney is 12 by 14 inches on the outside, with a single flue 8 inches round, and is 10 feet high. This height is sufficient to clear the roof. For the inside form 8-inch sewer pipe was used and left in place (stovepipe or drain tile could also be used). Ordinary box forms were used for the outside forms, made as described on page 36.
The chimney was reinforced with a ½-inch rod running from top to bottom in each corner, 1½ inches from the edge. The lower ends of these rods are firmly embedded in the concrete wall on which the chimney rests.
As this improvement was made by the farm hands, the cost of the floor was only 5 cents a square foot, while the wall and chimney cost $5.00.
Not only has that dread of fire which keeps many a man awake at night been overcome, but the whole feed cooker house can be kept in a most cleanly condition at all times.
Rats, the greatest pest known to the farmer, are driven away. These animals cannot nest in concrete.
Hog Wallows—Automatic Dipping Tanks
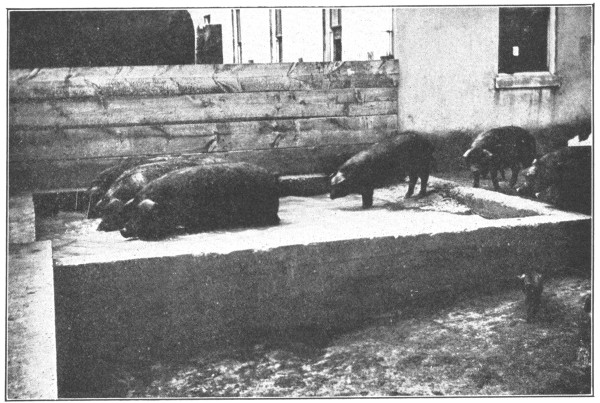
A wallow is as necessary for a hog as a bath-tub is for a human being. A clean bath benefits the health of a hog, especially if the wallow is filled with a dipping solution. This combination not only saves the lives of fat hogs on hot days, but also aids greatly in preventing cholera. See Dipping Tanks, page 76.
Locate the wallow in a convenient place near the water supply. A level, well drained spot, where the mud will not wash into it, is best. (The wallow shown in the photograph is in the hog house, and is a large dish in the concrete floor.) Make the wallow 8 by 12-feet. Dig out the hole with straight sides to the depth of 2 feet 2 inches. Lay a drainage foundation 10 inches thick—see Sidewalks, page 29. Set a 10-inch board around the outside of the hole to keep the dirt from crumbling in on the concrete.
Mix the concrete 1: 2: 4 and place a 6-inch floor in the hole. As the concrete is laid, embed woven wire in it 1 inch from the bottom. Have the concrete for the side walls fairly dry and tamp it to the shape and dimensions—4 inches thick at the top and 10 inches at the floor line. The sloping sides make cleaning easy. Keep all animals away from the wallow for two weeks. Three men built this wallow easily in one day.
Materials Required
Screened gravel or crushed rock 2½ cubic yards @ $1.10 $2.75
Sand 1¼ cubic yards @ $1.00 1.25
Portland cement 4½ barrels @ $2.50 11.25
$15.25
A Corn Crib Floor of Concrete
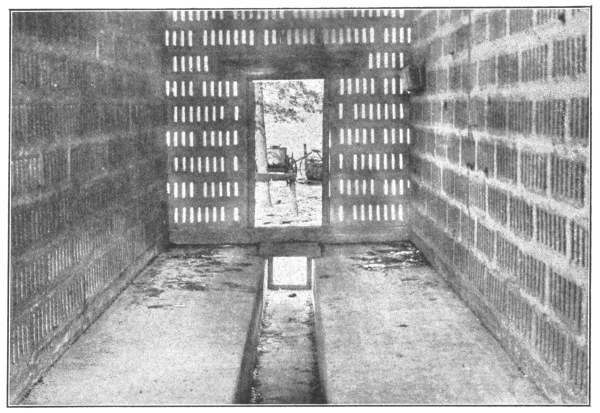
Rats love grain; and therefore the corn crib is usually the rat headquarters of the farm. By building corn cribs and granary floors of concrete the farmer takes a long step toward rat extermination.
Lay out the building: for the foundation wall, dig a trench 12 inches wide and from 2 to 3 feet below ground level. Set box forms, so as to bring the surface of the finished foundation and floor 1½ to 2 feet above ground level, according to the height of the “drag” conveyor used by local corn-shellers.
As the floor will only be 6 inches thick, fill in between the foundation walls with gravel to within a distance of 6 inches of top of forms. Soak this fill thoroughly, and tamp and roll it well, before placing concrete on top.
Mix concrete (1: 2: 4) and fill the foundation forms. Beginning at one end of the building, lay the concrete floor in sections 4 feet wide, and continue until the entire floor is placed.
In order to fasten the wooden sill for the granary uprights to the concrete floor, insert ¾-inch bolts heads down or strap irons bent like capital Z’s at the necessary points in the green concrete of foundation. The bolts are long enough to pass through holes in the sill and to receive nuts and washers. The straps are long enough to be spiked to the uprights.
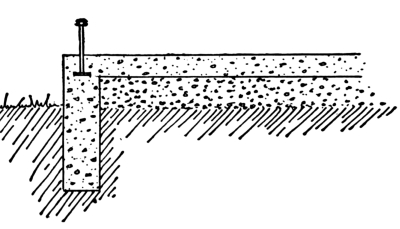
Finish the surface of the floor with a steel trowel, so as to render scooping of the grain an easy matter.
Approximate cost per square foot of floor surface, 12 cents.