Before you start to sew
Reading edition
Study your pattern
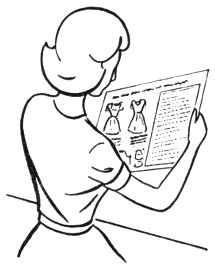
Study the instruction sheet carefully before you unfold your pattern. This will help you know each piece of your pattern as you unfold it. When unfolding it, put your initials on each piece.
You will find an arrow on each piece of the pattern that tells you how the pattern is to be placed on your cloth. This mark is called the “grain line.” Learn to recognize marks for fold, seamline, darts, tucks, hems, center front and center back, buttons, and buttonholes.
When you can recognize all the marks on your pattern, trim off the edges and pin it together. Have your leader check it for fit. She will help you make any alterations that are necessary.
Straighten your fabric
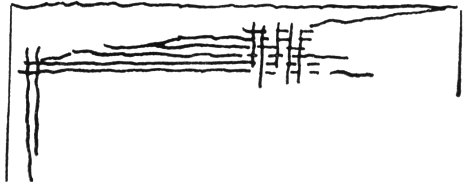
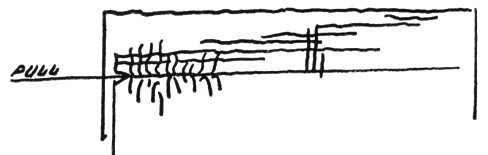
Study your fabric. You will find there are threads running lengthwise (warp threads) with other threads woven in and out of these (crosswise or filling threads). Each of these threads should be straight, not curved or slanted. If the end of the fabric has not been torn, pull one thread near the end that will go all the way across the fabric. Cut along this line.
6
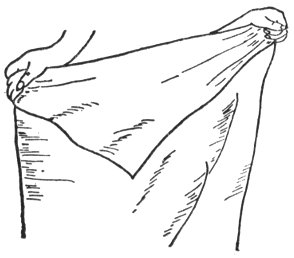
Now if the ends of the fabric are not even, have your leader or mother help you straighten the cloth by pulling on the bias, as is being done in the picture.
When the cloth is straight, pin the edges together. Now pin the pattern to your cloth.
Crease-resistant fabric cannot be straightened.
Pin and cut
You need a large smooth surface for pinning and cutting. A big table is best, but you can use a clean floor.
Study your pattern layout. Fold your cloth and pin your pattern as suggested. Place the big pattern pieces on first. See that the line that shows the straight of the grain is placed exactly on the lengthwise “grain” or thread of the cloth.
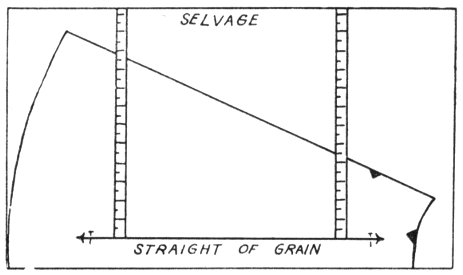
SELVAGE
STRAIGHT OF GRAIN
Measure from the selvage to this line, making sure the distance is equal at all points. Pin at each end of mark as measurements are made. Now pin around the edge of your pattern. Place the pins at right angles to the edge.
Have your leader check the pattern on your cloth before you cut.
Use long sharp shears. Take long strokes to give an even edge. Cut close to the pattern.
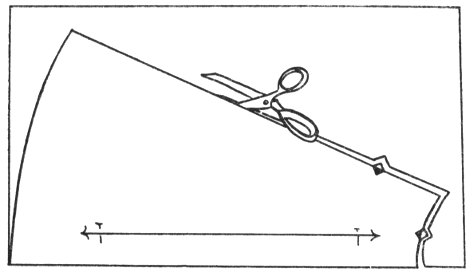
Cut notches out, not into your seam allowance.
Before you remove the pattern, mark all darts, tucks, seams, buttons, and buttonholes. Ask your leader to show you how to make tailor’s tacks or how to use dressmakers’ tracing paper. Use the lightest-colored paper that will show on your cloth. Page 13 tells you more about guide lines.
Check your machine
Before you start to sew, check the machine stitch. Your seams will not hold if the stitch is not perfect. Try your machine stitch on a double piece of cloth. Stitch on the bias and the straight. Does the stitch look the same on both sides? If not, have your leader adjust the tension while you watch to see how she does it.
For a review of what you learned about the sewing machine in your other projects, practice sewing on a sample of your fabric until you get the feel of the machine. When you can run the machine smoothly, make one of the following articles for practice—scarf, draw-string bag, apron, or swimming robe.
Cloth guide
A cloth guide on your machine will aid in making the stitching straight. Place a strip of colored scotch tape on the machine ⅝ inch, or the width desired, from the needle if a gauge is not available. Keep the edge of the cloth along the inside of the tape or guide as you sew. Watch the edge of the tape not the machine needle.
The pressure foot is a good gauge for edge stitching. It is easy to stitch close to the edge of a hem if you let the edge of the cloth follow the inside of the presser foot. A ⅛ inch seam can be made by letting the edge follow the outside of the presser foot.
7