Learn to use mother’s sewing machine
Reading edition
What could be more exciting than to learn to use a machine which has “magic power.” Of course, I know when you are older you are going to learn to drive the family car (which you’ve heard dad say has all sorts of magic power). But did you know that mother’s sewing machine has “magic power,” too? The nicest thing is that you do not have to wait until you are grown up to use it. Even though you are only 9 or 10 years old, you are ready to learn the secrets of the sewing machine right now. You will no longer be standing by watching mother or sister sew. Instead, after you have learned some of the secrets of sewing with a machine, you can make many exciting things for yourself, your family, and your friends.
So come—let’s get acquainted with this wonderful machine!
7
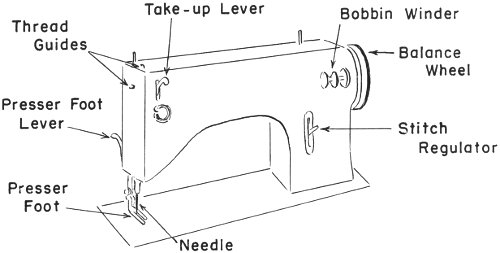
Now look at your sewing machine and find the parts which look similar to the pictures below. Every machine has these parts, though some designs may look just a little different. Your leader will show you how each part works.
Thread Guides
Take-up Lever
Bobbin Winder
Balance Wheel
Presser Foot Lever
Stitch Regulator
Presser Foot
Needle
Parts of the sewing machine
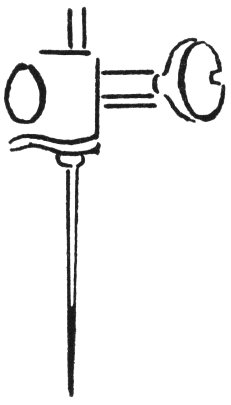
NEEDLE has a long groove in it to guide the thread.
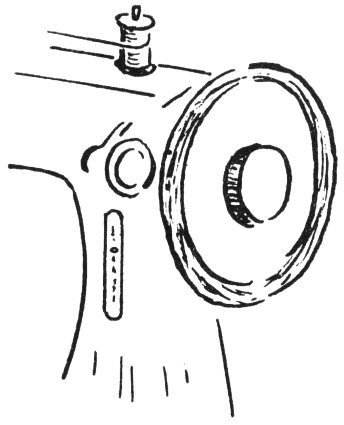
BALANCE WHEEL moves the needle in and out of your material.
8
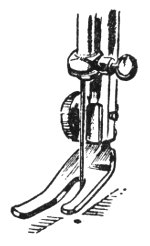
PRESSER FOOT LEVER is the handle which moves the presser foot up and down.
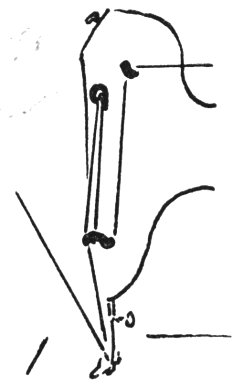
THREAD GUIDES hold the thread in place as it is being unwound from the spool during stitching.
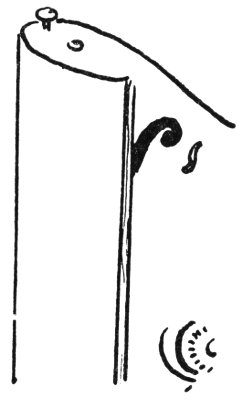
TAKE-UP LEVER pulls the thread from the spool as it moves up and down with the needle.
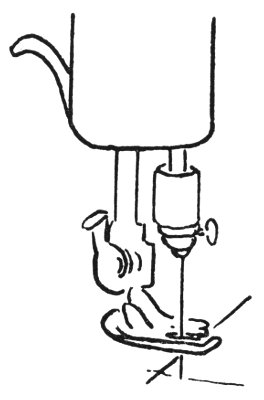
PRESSER FOOT holds the material so the needle can sew through it.
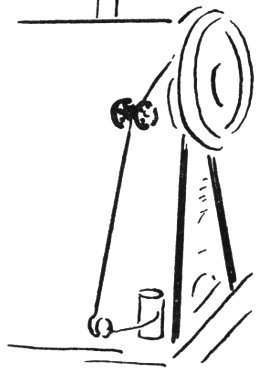
BOBBIN WINDER winds the thread from the spool onto the bobbin (spool which holds thread in lower machine).
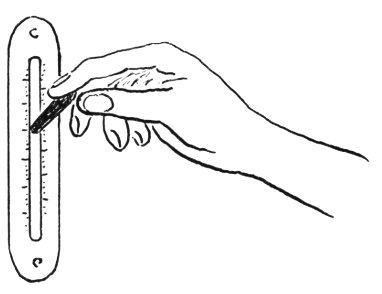
STITCH REGULATOR makes stitches small or large. Also adjusts the machine to move your material forward or backward.
9
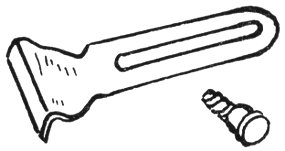
CLOTH GUIDE ATTACHMENT helps to stitch straight seams.
Types of control levers
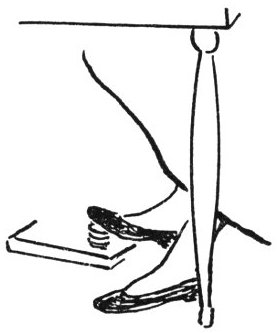
FOOT CONTROL
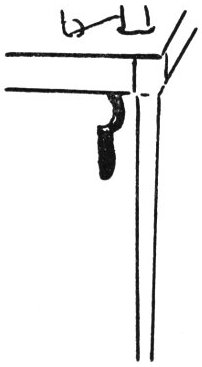
KNEE LEVER
TREADLE
How to use the sewing machine
Is your chair the right height?
• Can you see the needle easily as it moves up and down?
• Are you able to reach behind the needle?
• Can you rest your arms on the table?
• Do your feet touch the floor?
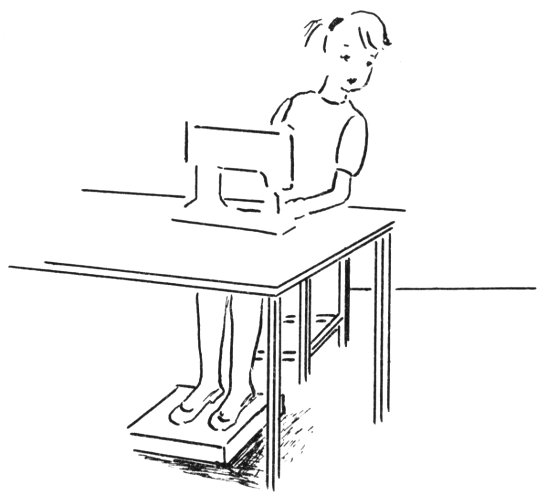
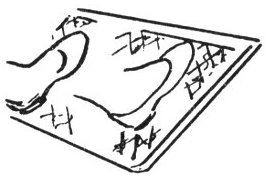
If you cannot see the needle or rest your arms on the table, you will need a taller chair or something to sit on to raise you up a bit. If your feet do not touch the floor (after you are sitting in the position to see the needle) and your machine has a foot control you will have to find a sturdy box. It should be large enough to rest both of your feet, as well as the foot control from the machine.
10
How to start and stop the machine
With your machine unthreaded and the presser foot raised, it is ready for you to start. Place your right hand on the balance wheel. (It will help you to start the machine in motion.)
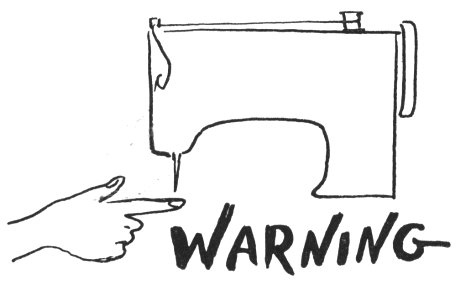
Keep your left hand a distance from the needle to avoid this—
How to speed up and slow down
Place your foot or knee on the control or treadle.
See how slowly you can make the needle go up and down. If the machine runs too fast for you, you can press your right hand against the balance wheel to slow it down.
Practice until your foot or knee can control the speed evenly from fast to slow, without using your right hand on the balance wheel.
How to stitch correctly
Slip a piece of material under the presser foot. (Your leader will have a piece for you.) Lower the needle into the material by rolling your right hand on the balance wheel until the needle goes down as far as possible. Then lower the presser foot onto the material.
Let the machine run without your hands touching the material. You will notice that it will slip and slide in many directions. To guide the material, hold your left hand on it with your fingers curved as if you were holding a ball in your hand. If you hold it gently, you can guide the material as it slips under your fingers without interrupting its movement as it is being sewn. Try it!
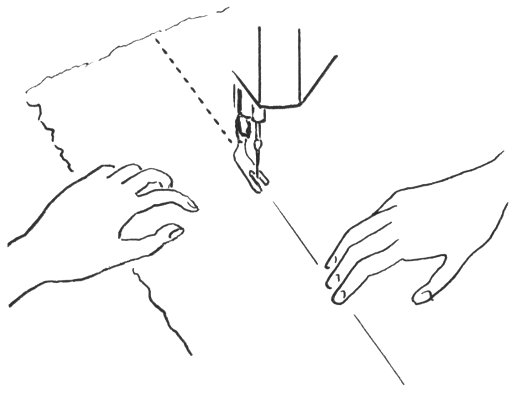
Your right hand will also help you to guide the material. As soon as the machine is in motion, take your right hand off the balance wheel. You will soon discover that you will have to practice the trick of sewing straight.
Slow down your speed when you near the end of your material so that you can stop when you reach the edge. Roll the balance wheel to raise the needle—then lift the presser foot to remove the material.
How to use the stitch regulator
If your sewing machine has a lever which makes it sew backward, try to use it now. Move the stitch regulator up as far as it will go. As you start the machine you will see it moving backward. In order to stitch forward again, push the lever back down as far as it will go. As you will learn in your projects, 11 you will always have to sew very slowly and carefully when you sew backward in order to do it nicely.
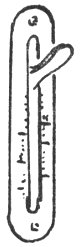
Another reason the stitch regulator is on your machine is to make the stitches larger or smaller for you, whichever is best for the material with which you are working.
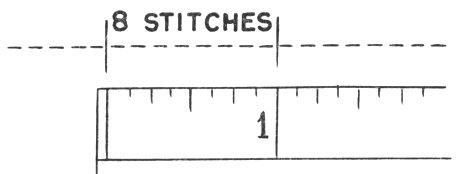
Some machines have numbers next to the lever to tell you the number of stitches per inch. If your machine does not have such numbers, you will be able to tell the number of stitches per inch by putting a line of stitching into a piece of material, and counting the number of stitches sewn in a one-inch space.
How to practice stitching
Mark some straight and curved lines on your piece of material. (Paper may also be used but it dulls the needle; material is best.)
Roll the balance wheel to lower the needle at the end of one of the lines. Lower the presser foot and start the machine. Slowly stitch the entire line (without thread), guiding your material so the needle follows the line as much as possible. Practice stitching along a marked line without thread, going backward and forward with both small and large stitches.
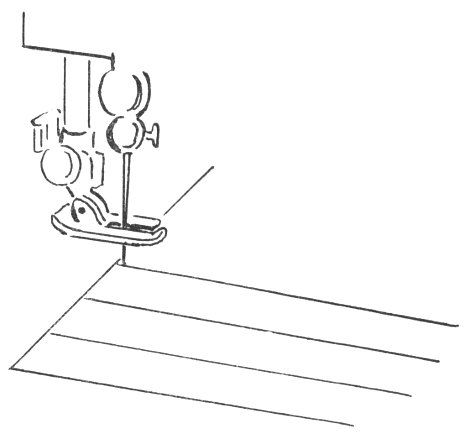
When you can control the speed of the machine and stitch straight, you have learned some important secrets of mother’s sewing. Soon you will be ready to start on your first project.
How to thread the machine
Would you like to be able to thread the machine as easily as your leader threads it? Ask her to do it very slowly for you so you can learn it from her. Watch closely as she hooks the thread onto every finger of each thread guide until she finally reaches the needle. She will also show you where the bobbin hides (remember this is the flat spool in the lower part of the machine) and how you will get its thread to the top of the machine.
After you have threaded the machine be sure to have your leader check it before you try to sew. If you want the machine to “work like magic” you will have to have it threaded correctly.
Stitching with a threaded machine
You have probably learned how to follow a marked line very well by this time. It is also important to see that you will be able to do as well when you actually stitch with thread.
12