INTRODUCTION
Reading edition
At Christmas, two years ago, as a result of the hard work of its Editors and other members of the A.I.F., we were presented with an excellent production in the form of the "Anzac Book." That was our second Christmas at war. We are now approaching our fourth, and let us hope it may be the last one during which we shall find ourselves fighting. Our kind friends have again come forward and presented us with a book, not quite so ambitious as the "Anzac Book" was, but one which we hope will convey to those whom we left behind in Australia, and who we know are thinking of us, some idea of our surroundings on the battle fronts of the Australians; and which carries with it our whole-hearted hopes and good wishes for those at home.
With it, I feel I have the privilege of sending my most grateful thanks to all for their past work, and my best of good wishes to every member of the A.I.F. for the future.
France, 28th September, 1917.
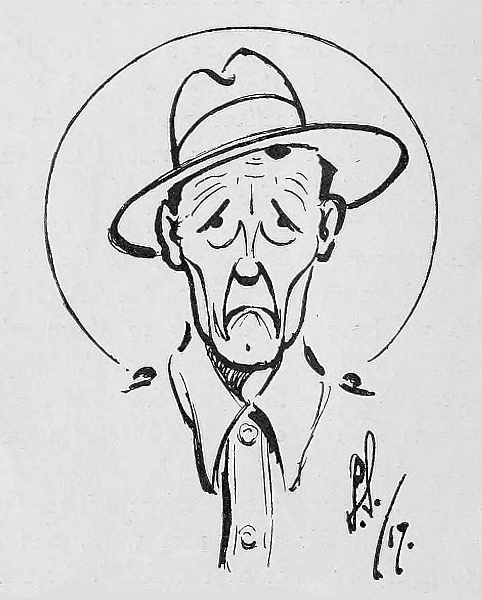
"What! Last another five years?"
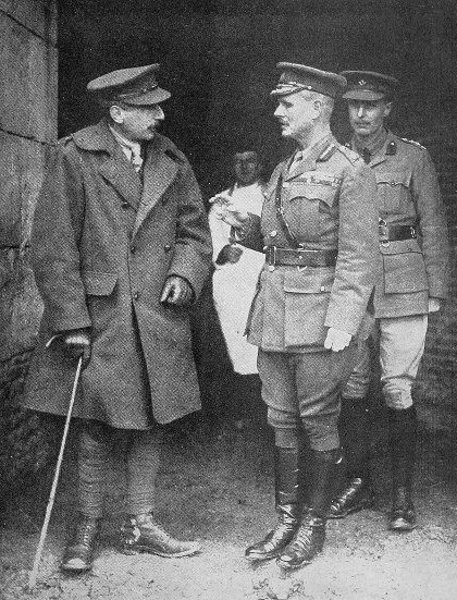
The Leader: A Winter Snapshot of General Birdwood and his Chief of Staff.
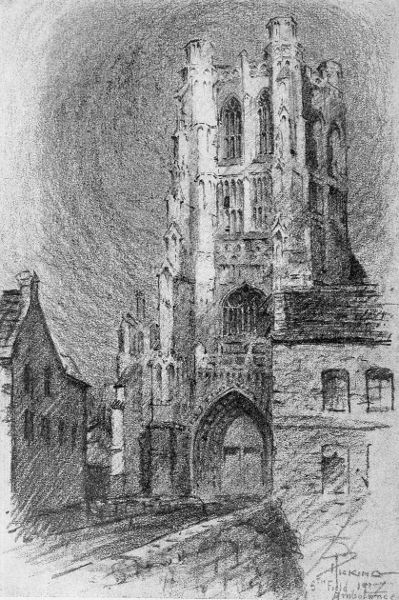
The Abbey de Bertin, St. Omer.
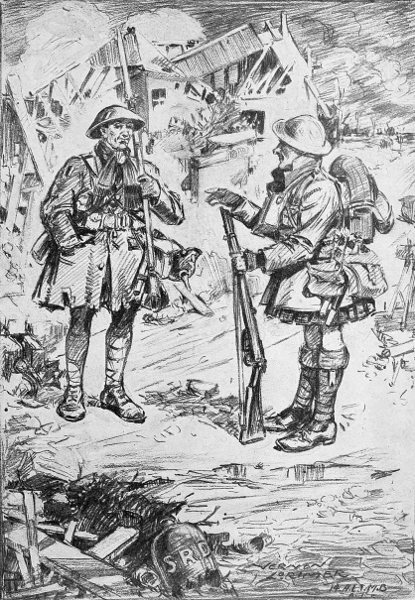
Winter in France. The Jock: "Weel, Anzac, and what are ye going to do when the war's ower?" Frozen Bill: "Me? I'm goin' to the centre of Australia for two bloomin' years to thaw out."
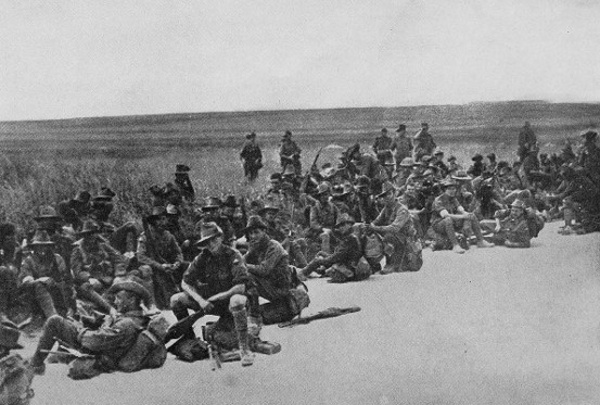
The Arrival in Flanders.
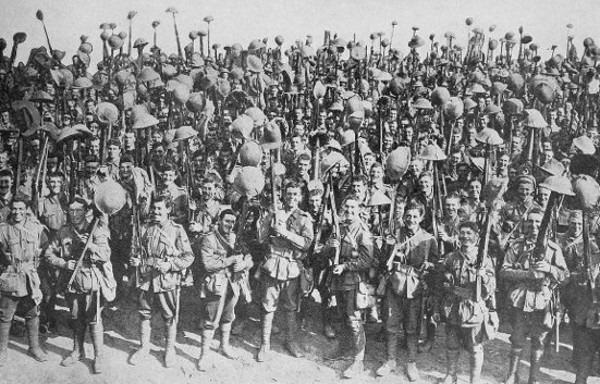
One of the Earliest Battalions to enter the Trenches in France.
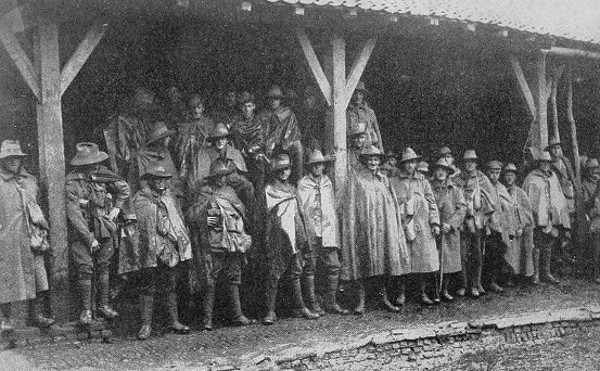
One of the Early Billets: A Bomb School in Flanders.
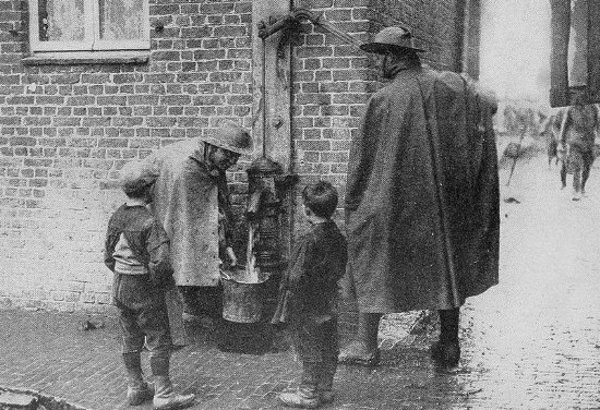
Snapped in a Farm in Flanders.
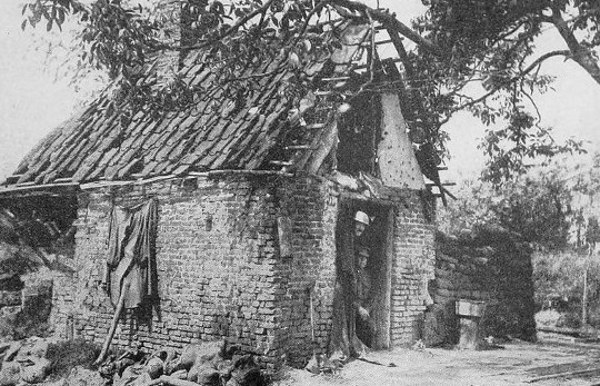
The Headquarters Cook-house in the Peaceful Line.
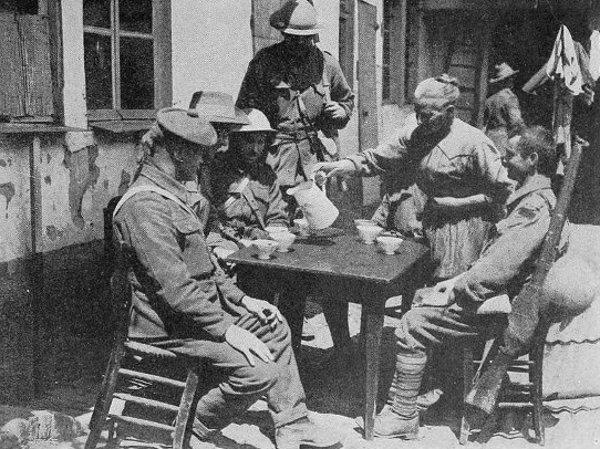
In the Early Days: An Estaminet reached by jumping out of the Communication Trench within 800 yards of the Front Line.
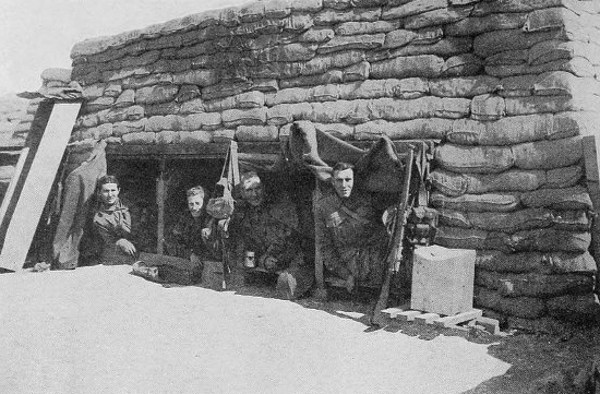
The Dug-outs which we used to build.
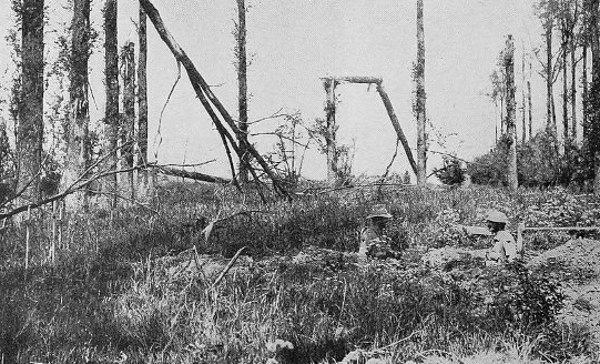
The Trenches amongst the Summer Flowers.
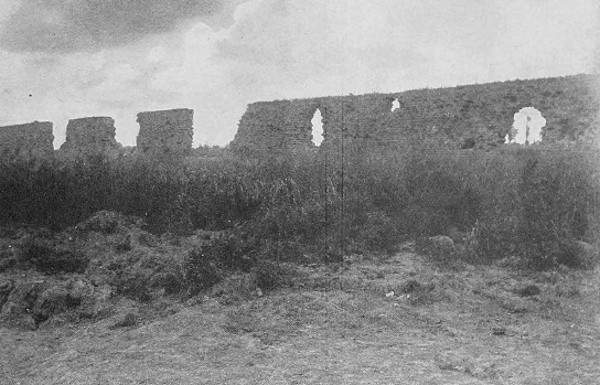
In the Peaceful Line.
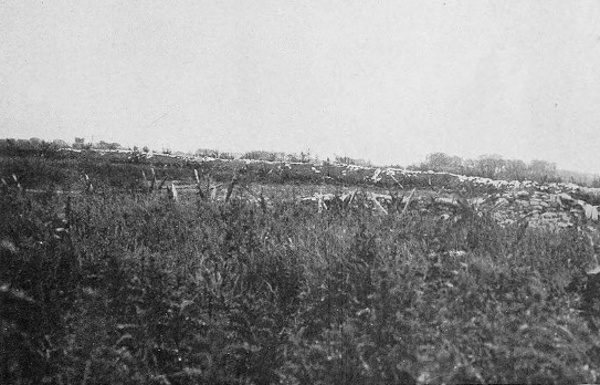
No-Man's-Land in the Peaceful Line. It was across exactly such a spot, but wider, that the Australians charged when first they entered heavy fighting in France before Fromelles, on July 19, 1916.
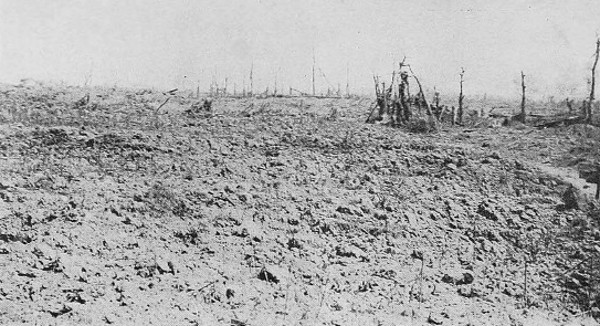
Pozières. Just after midnight on July 23, 1916, those Australians who had been brought South and put into the Great Battle of the Somme, attacked and took this village. A few walls and rafters were then remaining.
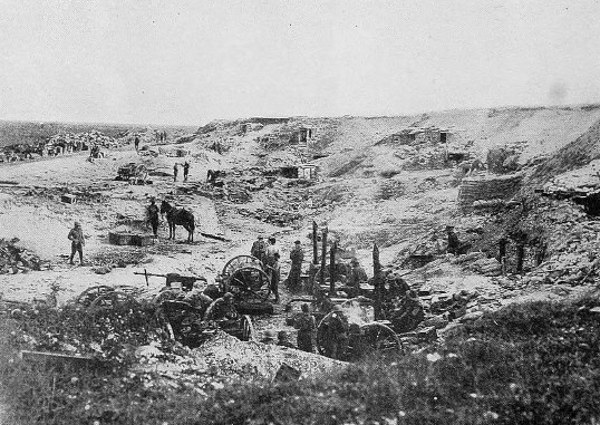
The Chalk-pit past which they approached.
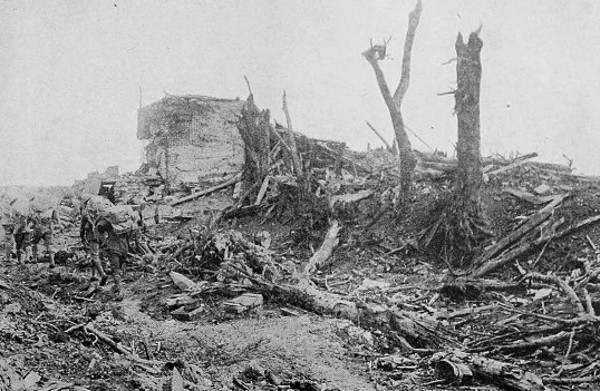
"Gibraltar." A reinforced concrete entrance to a cellar and German dug-out. The surrounding house had long been blown away.
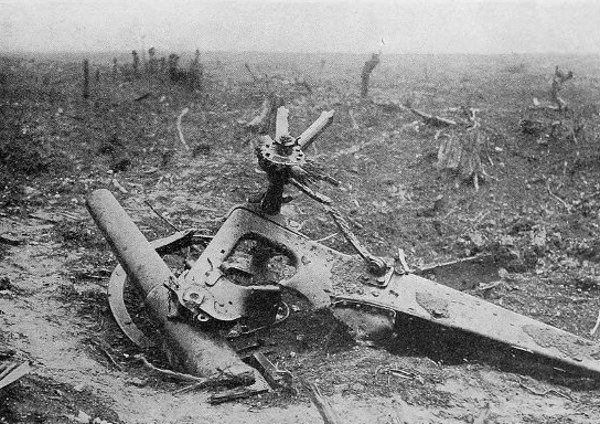
One of the old 5·9 Howitzers taken in the First Assault.
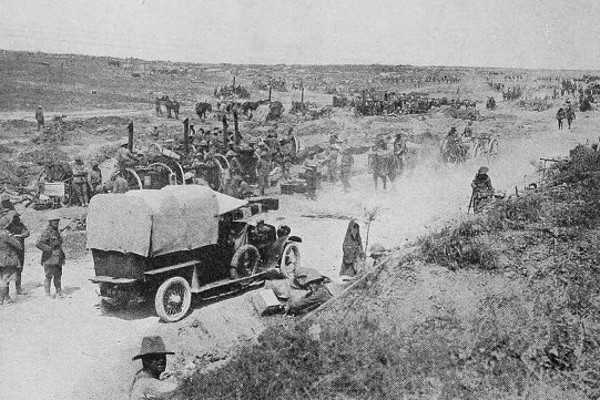
Sausage Valley: The Busiest Thoroughfare in the Australian World in those Days.
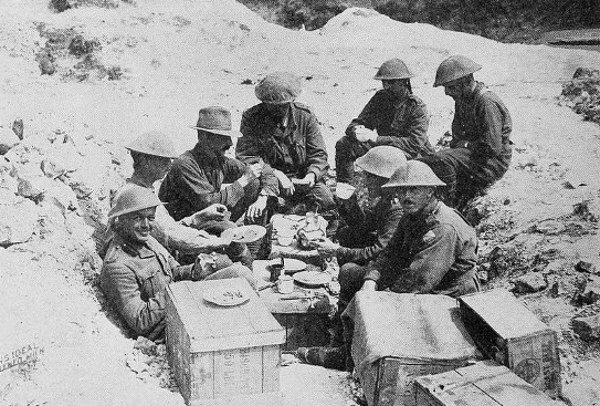
A Famous Staff at Breakfast in Sausage Valley.
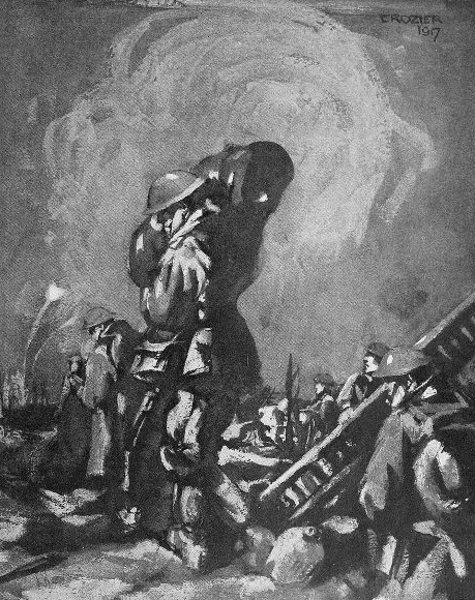
Fatigue Parties in the Moonlight.
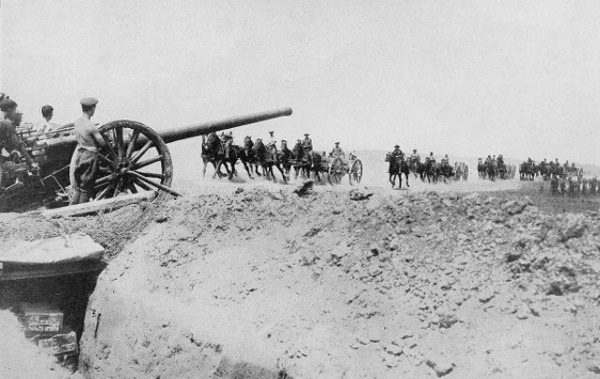
Ammunition Wagons galloping past the Long Guns in Sausage Valley.
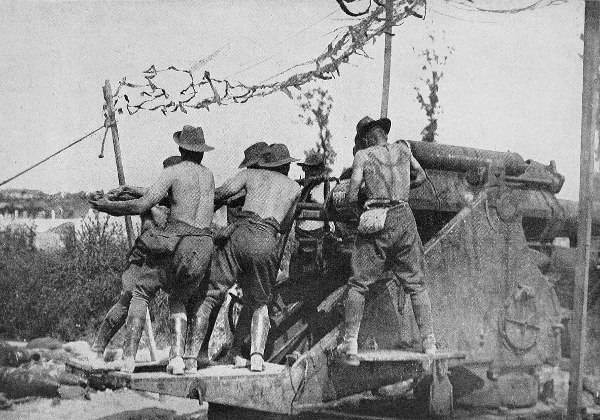
A Gun of the R.A.G.A. near Fricourt.
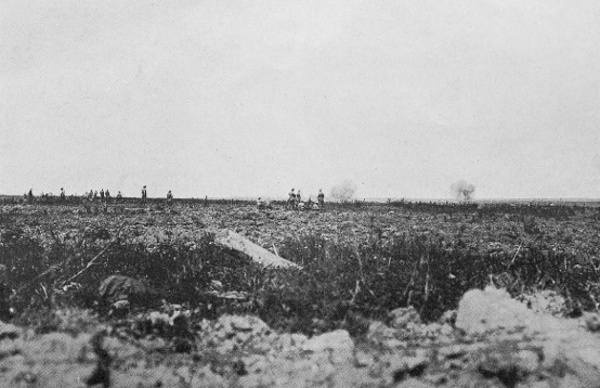
The Bombardment of Pozières by the Germans in the First Days of August, 1916.
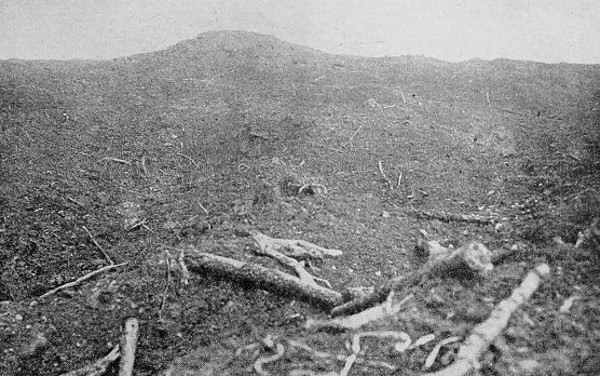
Pozières Windmill: The Summit of the Somme. Captured on August 4 after two heavy fights.
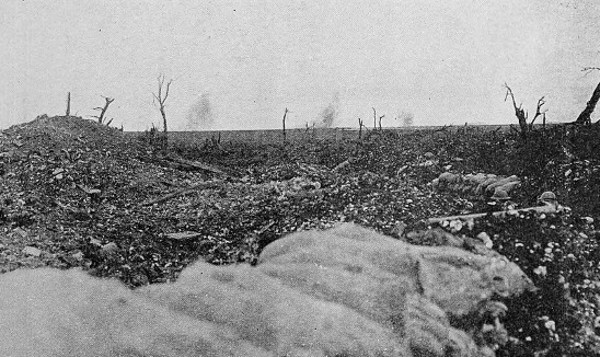
Centre Way, near Pozières Church.
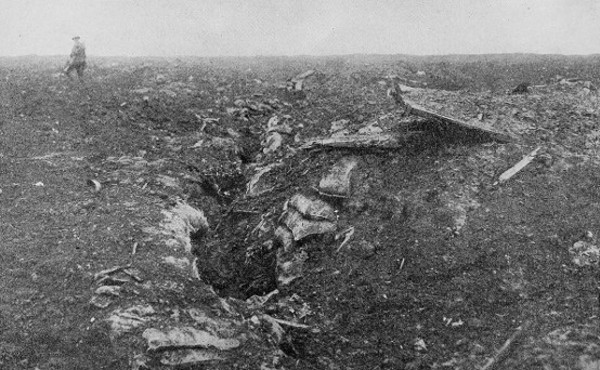
One of the "O.G." Lines near Pozières Windmill. They were blotted out here by bombardment.
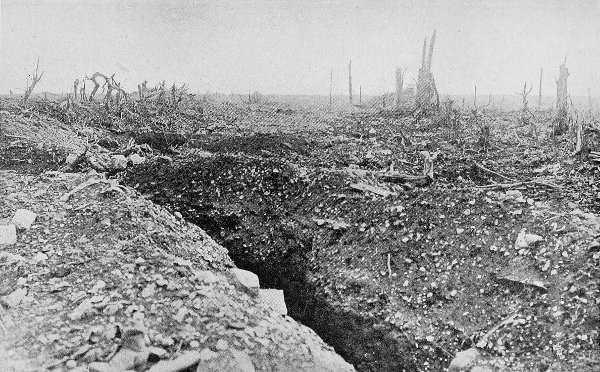
The Main Street of Pozières from Centreway Trench.
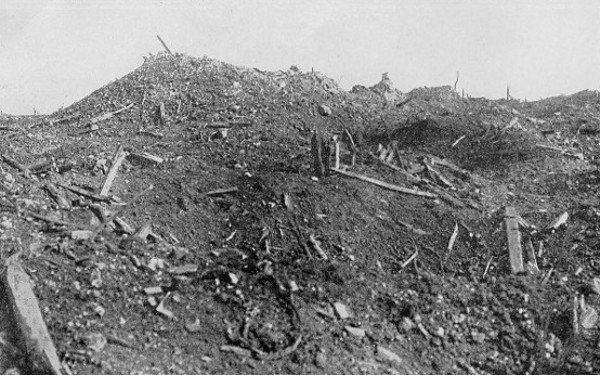
The Church at Pozières.
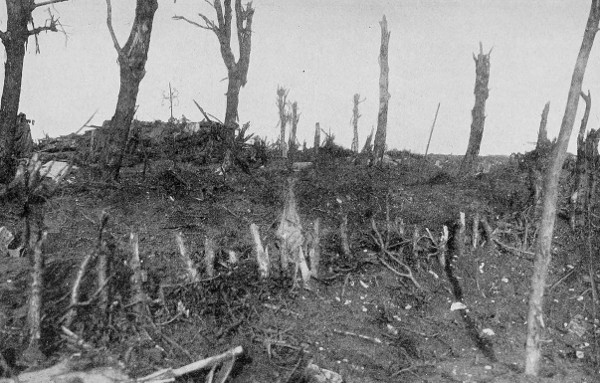
The Cemetery at Pozières.
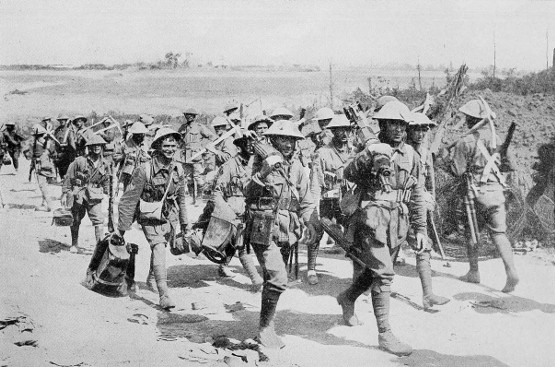
Machine-gunners coming out past Casualty Corner: Contalmaison in the distance.
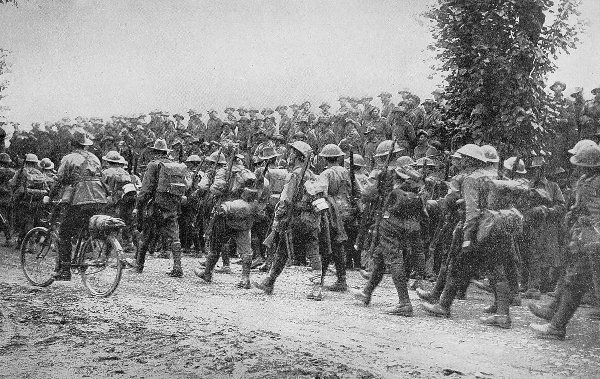
A Victorian Brigade straight out of Pozières passing another Victorian Brigade on its way in.
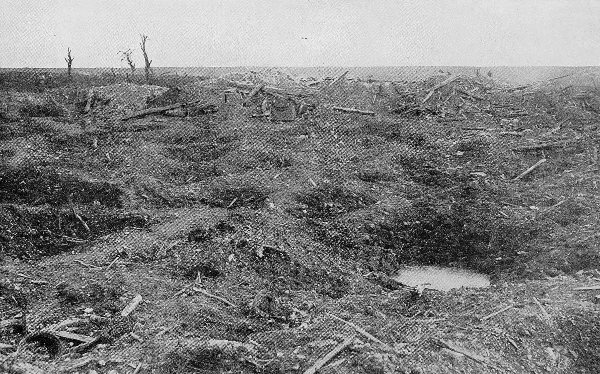
Mouquet Farm: The Next Stage in the Pozières Fight. Looking towards Pozières, which is about a mile away beyond the crest.>
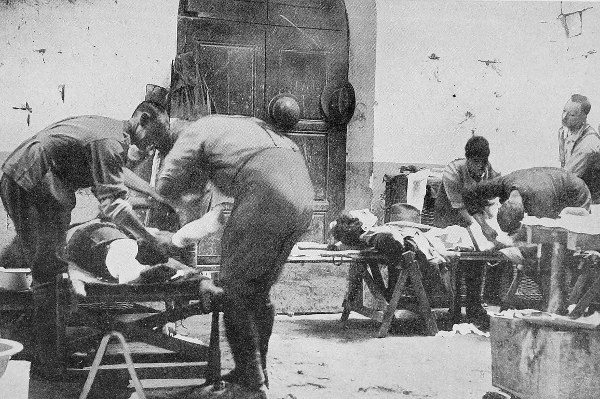
Australians in the Dressing-station at Becourt Château during the early days of Pozières.
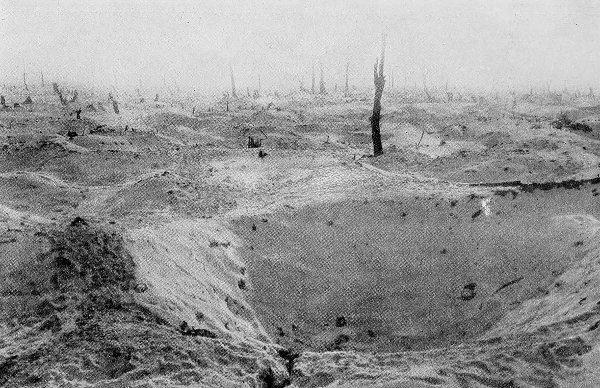
The Shell-holes of Pozières Village during the following Winter.
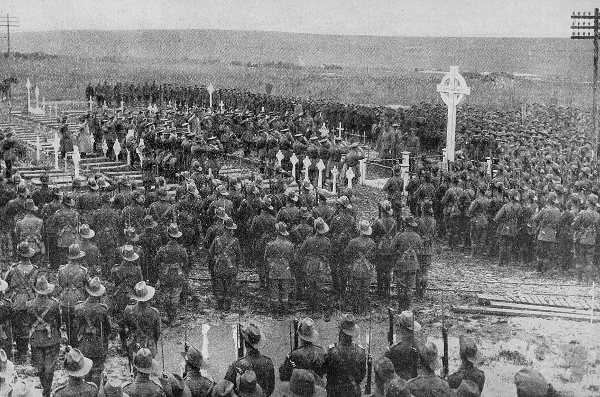
Unveiling the Memorial put up to one of the Australian Divisions which fought at Pozières.
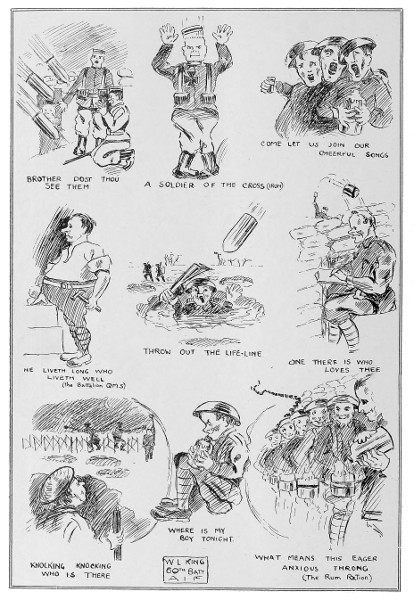
Hymn Titles Adapted.
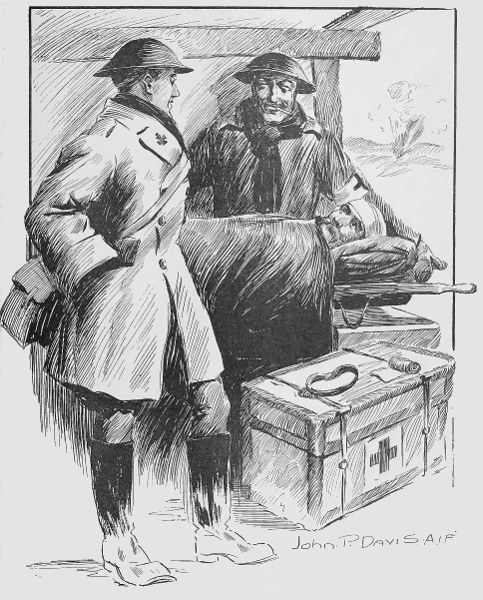
In the Field Dressing-station. The Padre: "Are you an R.C., my lad?" The Hard Case: "No, I'm a machine-gunner.
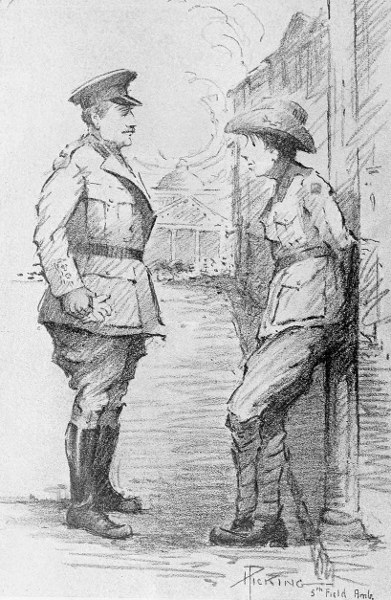
Officer: "Why do you not salute?" Anzac: "Well, to tell you the truth, digger, we've cut it right out."
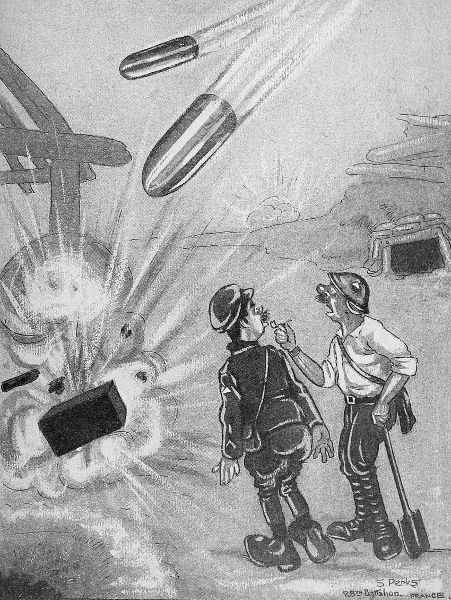
Remembrances? "What does that noise remind you of?" "'Ome on a Saturday night."
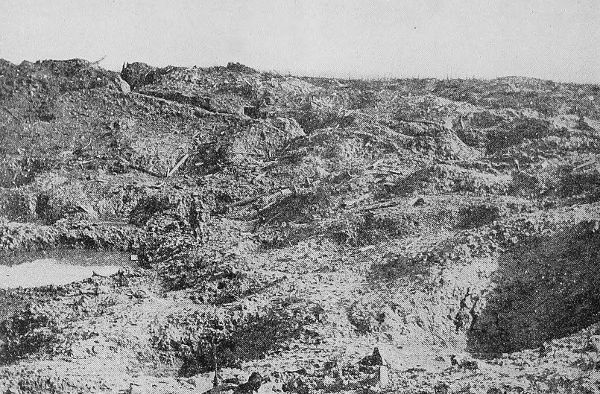
Shell- and Mine-torn Ground at Hill 60, Ypres.
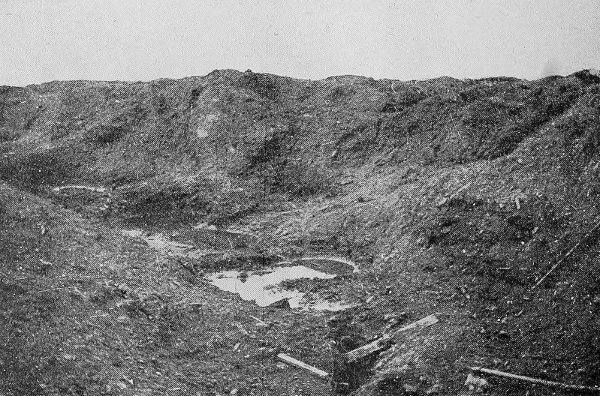
The same: Very Extensive Defensive Works were undertaken by the Australian Troops at Ypres in 1916 during the short time within which they stayed there.
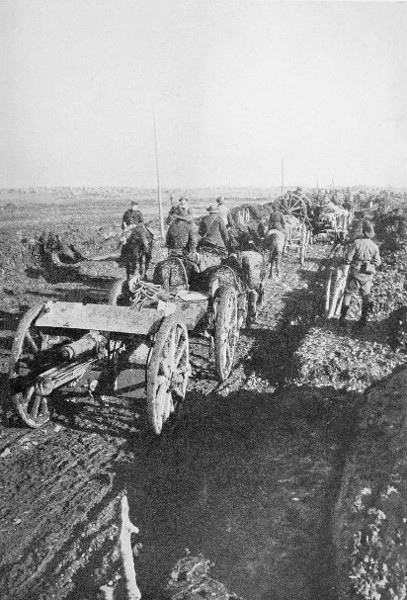
Australians Re-entering the Somme in the Autumn, 1916. Mud-splashed Gun-teams along the road to Montauban.
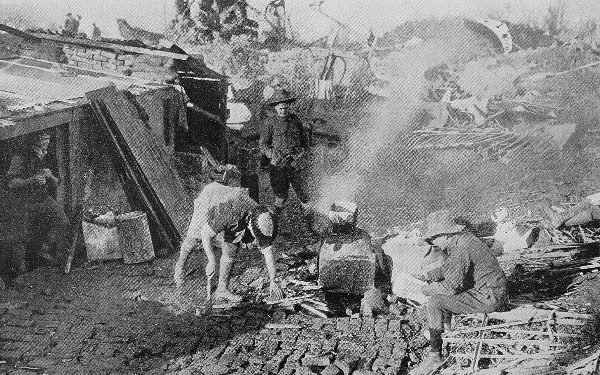
A Cook-house in Montauban.
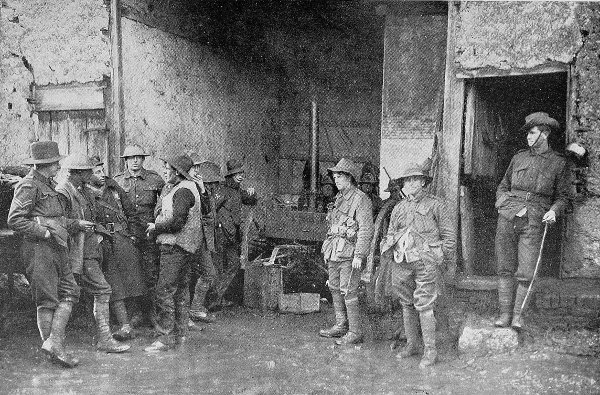
The Field Cooker in a Winter Billet behind the Somme.
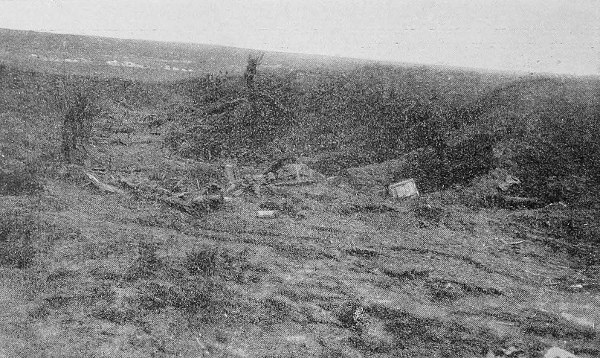
Fritz's Folly: Scene of a Winter Fight on the Somme.
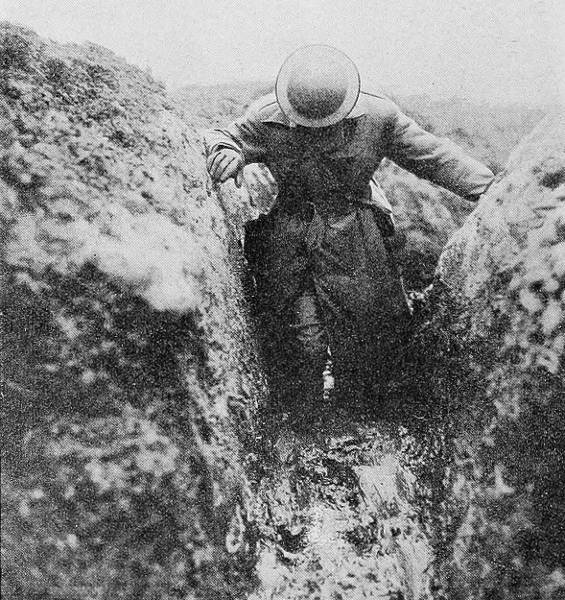
The Somme Mud: In the Trenches.
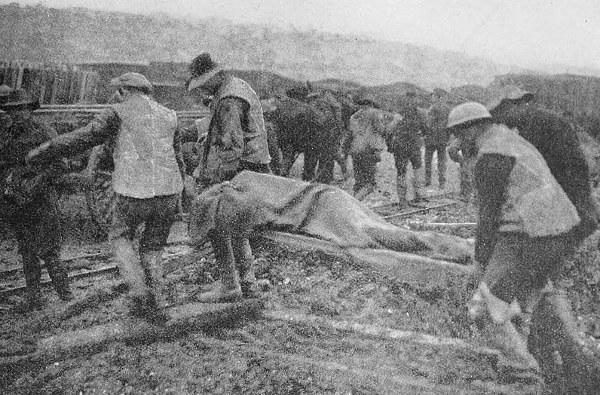
Where the Mud was a Tragedy: The Carriage of the Wounded.
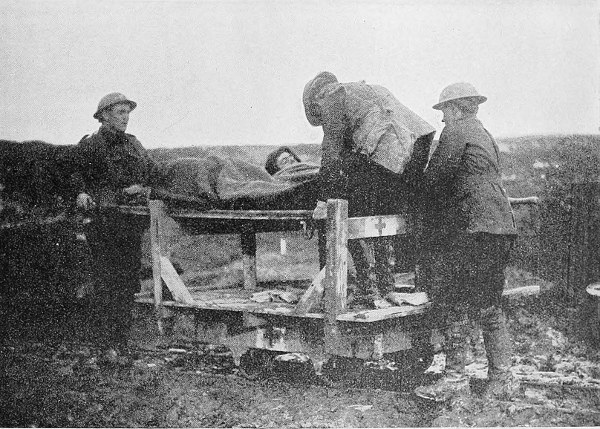
The First Immense Alleviation: Tramways.
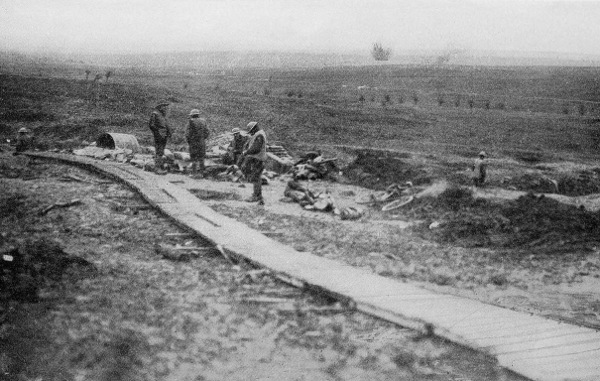
A Second Alleviation: The Duckboards.
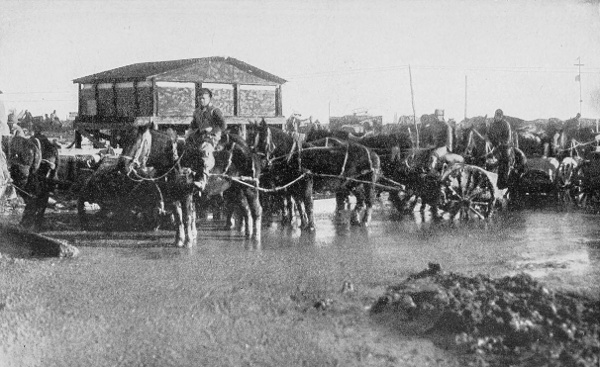
The Somme Mud: At the Water Point, Montauban.
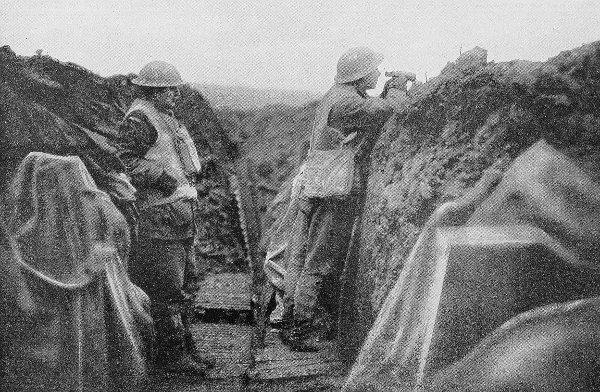
A First Improvement in Trenches: A Dry Trench in the Front Line.
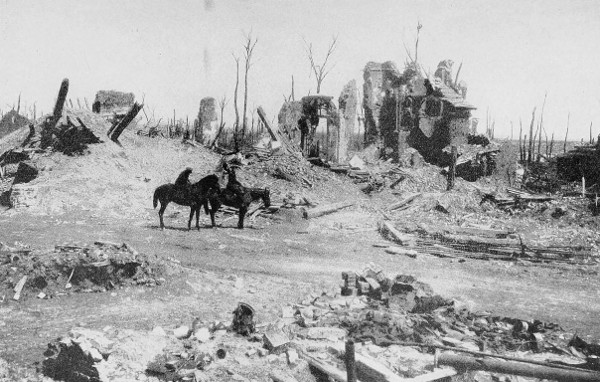
Flers: Held by the Australians all the Winter.
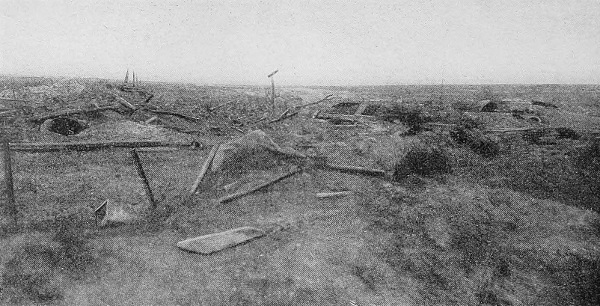
Factory Corner near Flers: A Notable Point during the Winter.
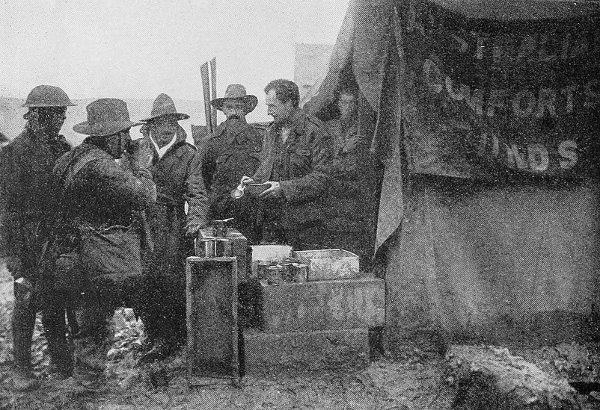
A Precious Consolation: Hot Coffee in Jam Tins at the Comfort Fund's Stall, Longueval. The two splendid men who are serving in this picture were both killed when the Town Hall at Bapaume was blown down by a delayed German mine.
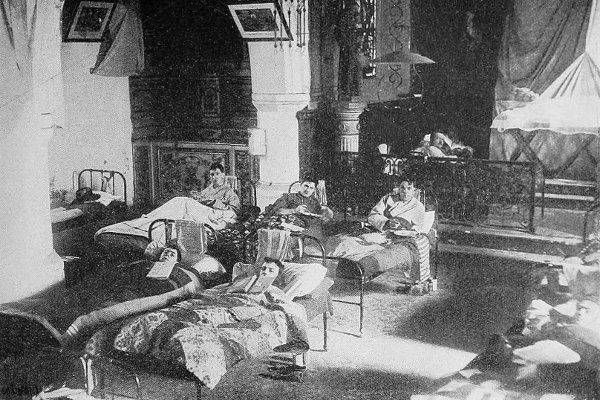
The Winter Hospital: In the Chapel at Millencourt.
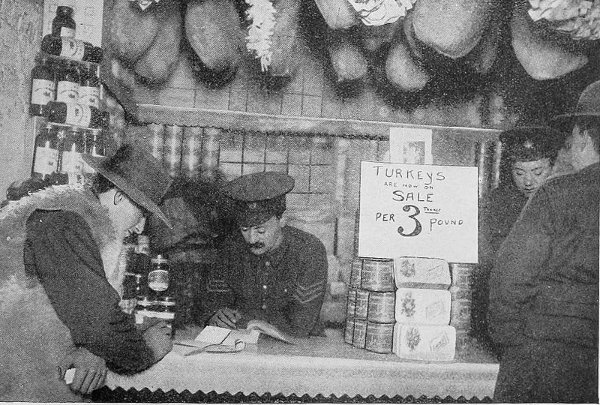
The Canteen: Behind the Somme.
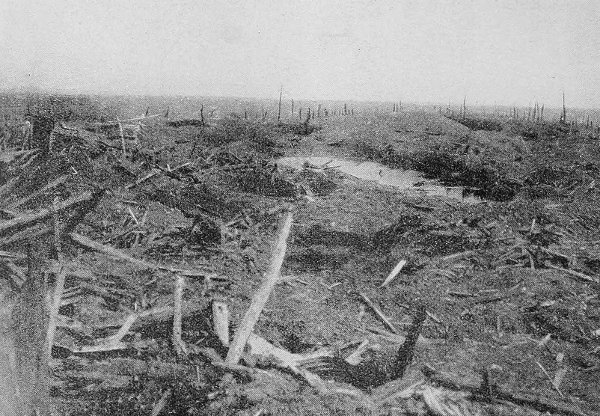
All that is Left of Gueudecourt—the Pond and the Church.
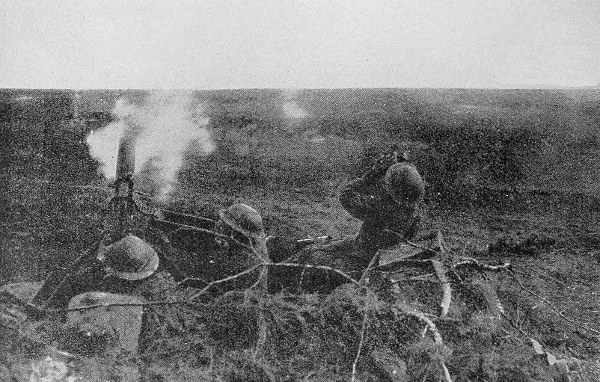
Machine Gun Firing at an Aeroplane.
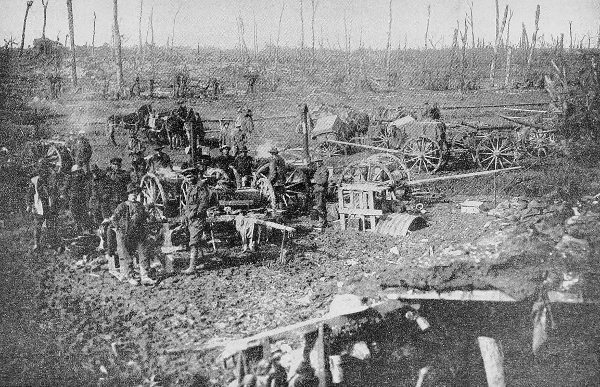
Martinpuich.
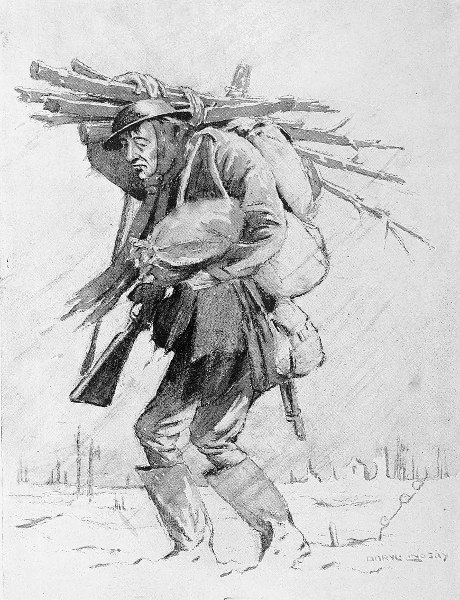
Optimism. "Well, thank God, at least there are no flies!"
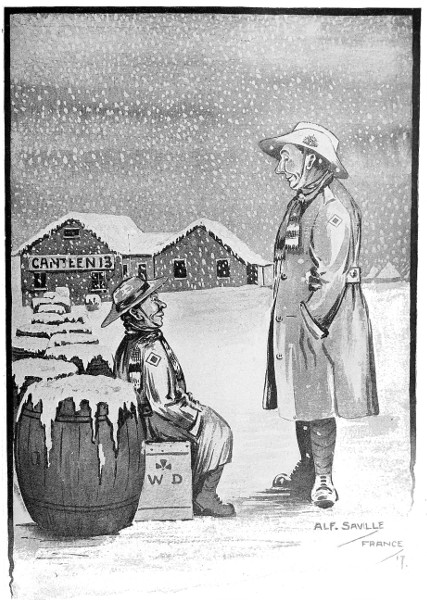
Stiffness. 1st Anzac: "Blime, digger, we're stiff. Beer's all froze." 2nd Ditto: "Wonder if they'll sell it by the block."
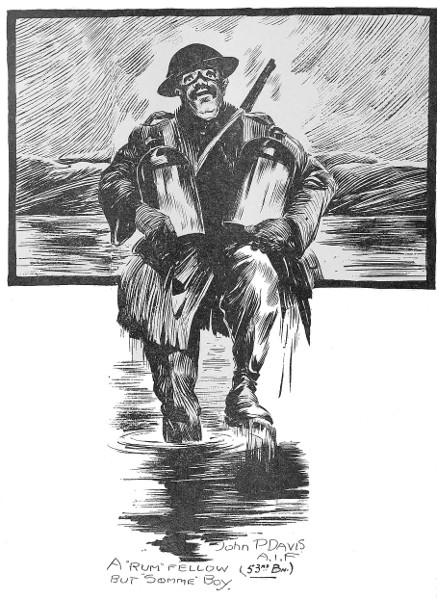
A "Rum" Fellow But "Somme" Boy. John P. Davis A.I.F (53rd Bn.)
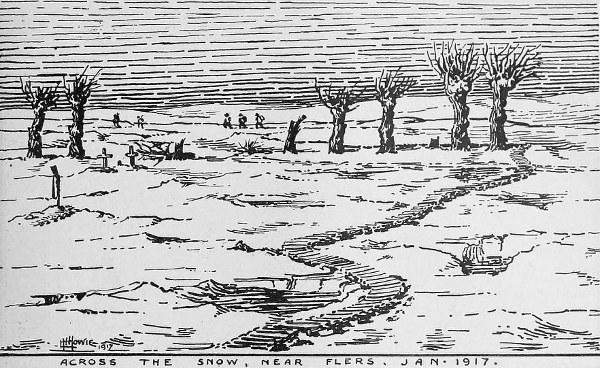
ACROSS THE SNOW, NEAR FLERS, JAN. 1917. The Duckboards.
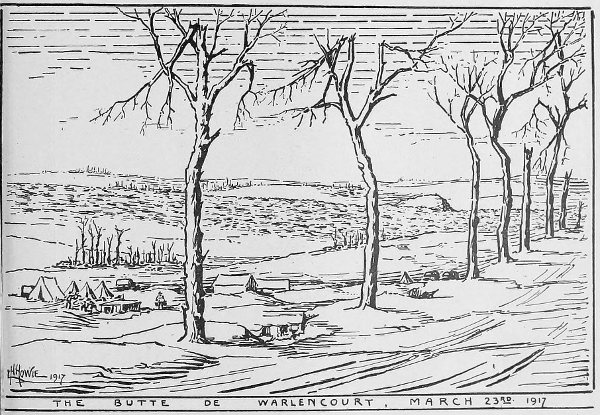
THE BUTTE DE WARLENCOURT, MARCH 23RD 1917. The Butte; When we were able to look back on it.
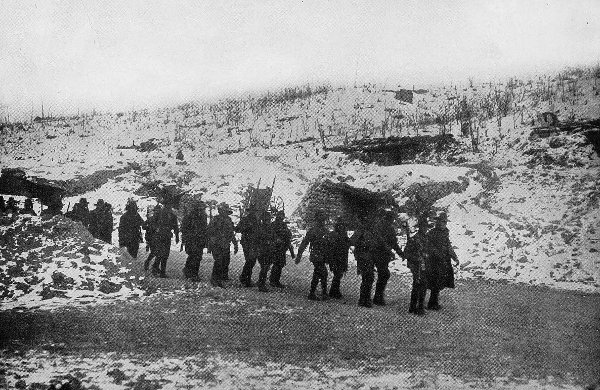
The Snow: Near Bazentin. The latter part of the winter was very bitter, with six weeks' continuous frost, but immensely preferable to the mud of the earlier months.
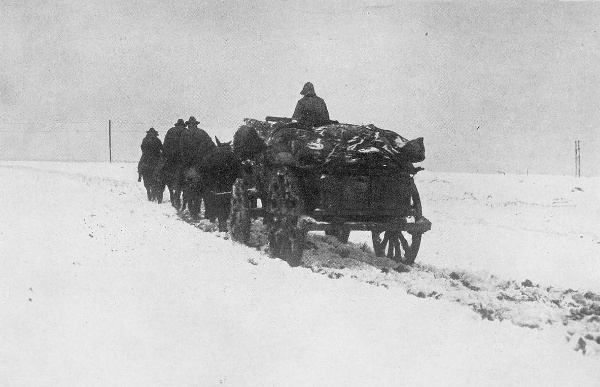
Australian Transport in the Snow.
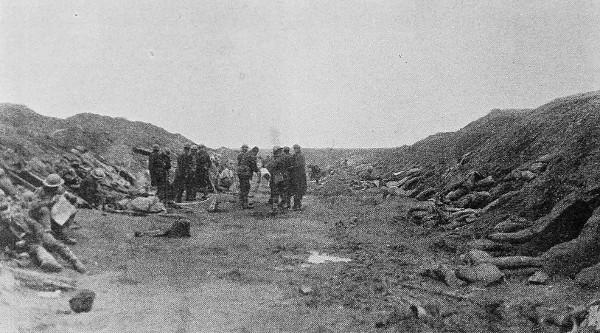
A Game of Pitch-and-Toss amongst the Reserve Troops.
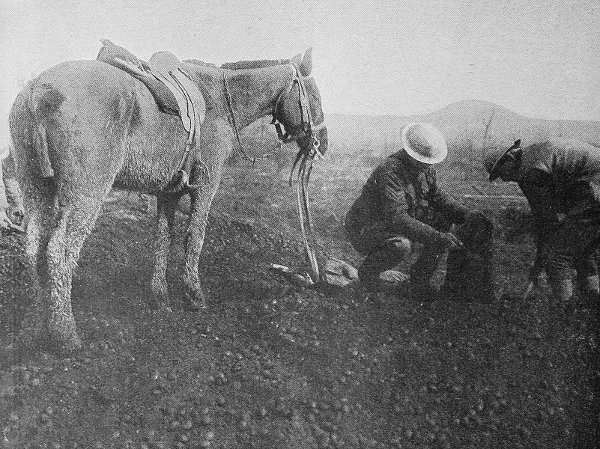
Spoiling the German Coal-dump in the Winter's No-Man's-Land. On February 24, 1917, the Germans were found to be evacuating their lines on the Somme. This photograph shows men getting coal from the old German railway dump, which all the Winter had been in No-Man's-Land before Le Sars. The Butte of Warlencourt appears in the background.
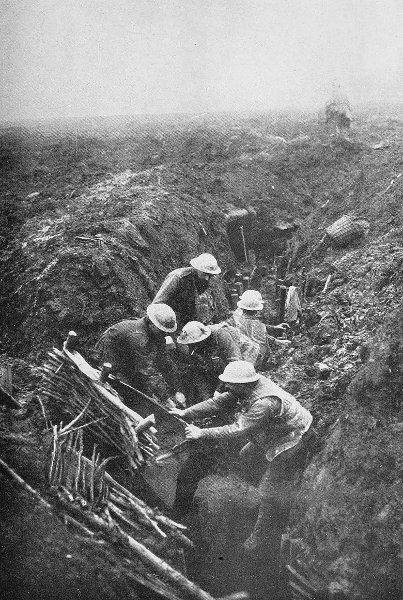
Engineers beginning on the Track across "The Maze," part of the old German Front Line which had been held all the Winter.
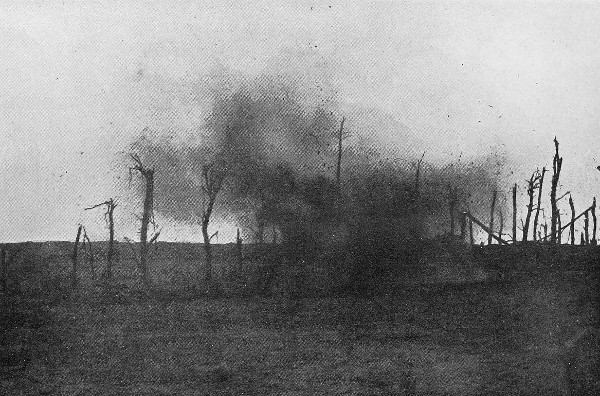
German Heavy Shell searching for Australian Batteries which had been hurriedly pushed forward to Eaucourt l'Abbaye.
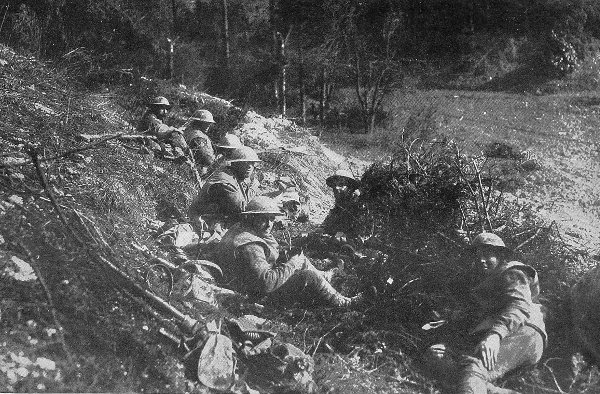
Supports waiting in the Public Grounds at Bapaume— its old Fortress Moat—on the day on which they followed the Germans through the Town.
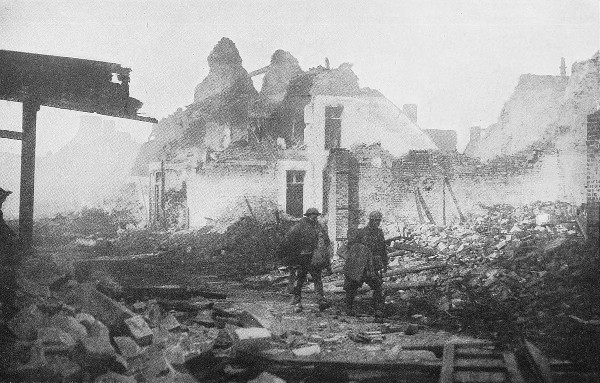
The Streets of Bapaume on the Day of its Occupation. It had been blown up and burnt by the Germans.
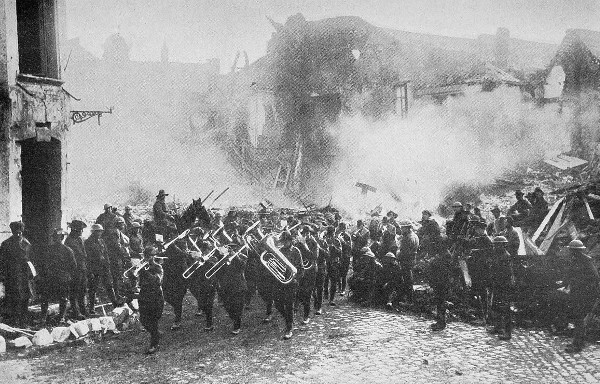
A Band playing in Bapaume the Day after its Capture. The Town was still Burning.
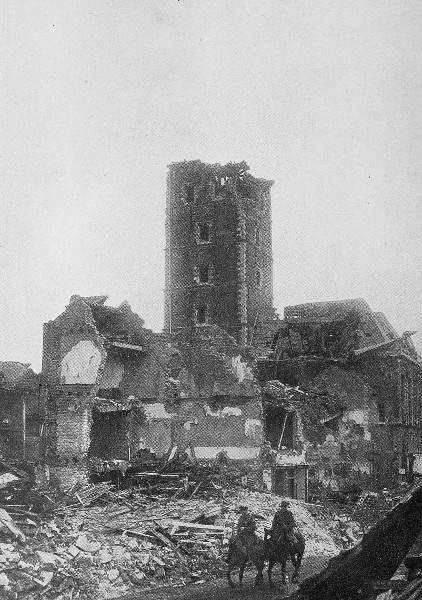
Bapaume Town Hall. A mine with delayed fuse was under the building at the time this photograph was taken. It blew up a few days later.
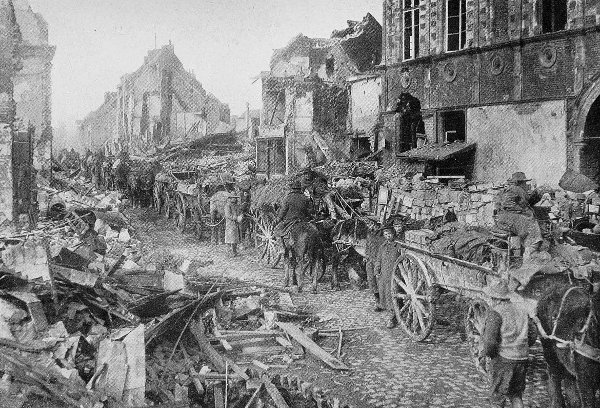
Australian Transport halted in Bapaume when the Streets had just been cleared.
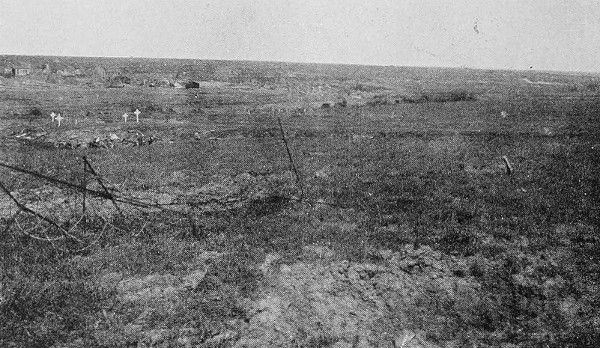
One of the Villages which were taken after Sharp Fighting as the Advance began to approach Cambrai.
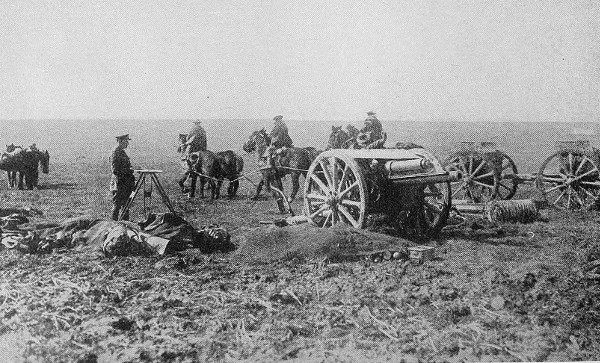
An Australian Battery coming into Position beyond Bapaume.
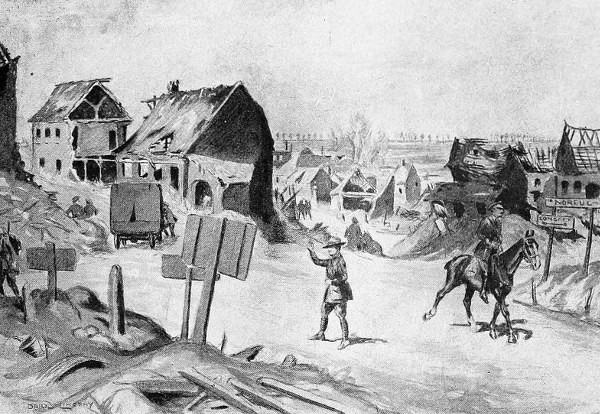
An Impression.
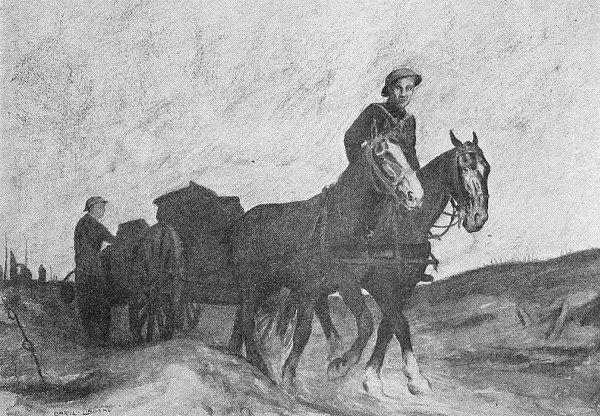
Bringing up Rations.
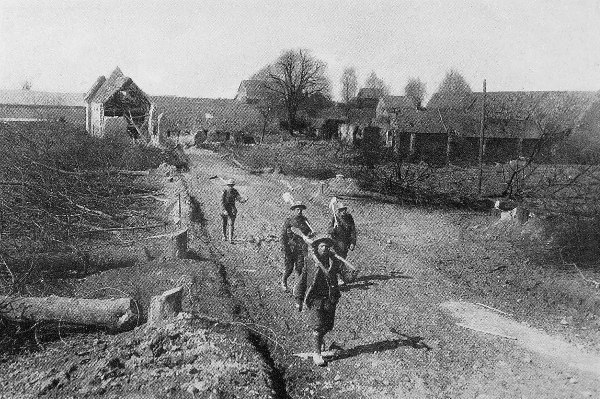
One of the Villages in the open beyond Bapaume. Most of the trees throughout this country were cut down by the Germans before leaving.
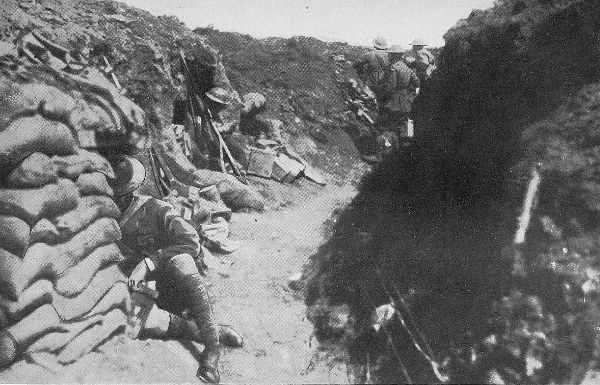
The Hindenburg Line taken on April 11, 1917, and again on May 3.
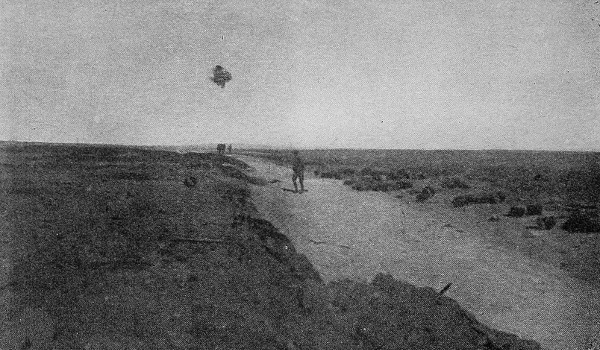
Shrapnel-Burst over our Stretcher-Bearers.
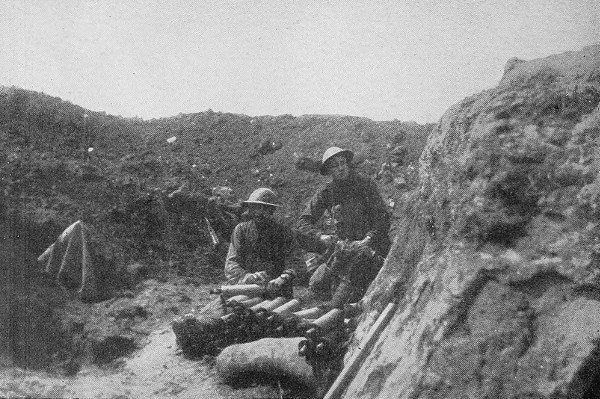
A Trench Mortar in the Hindenburg Line.
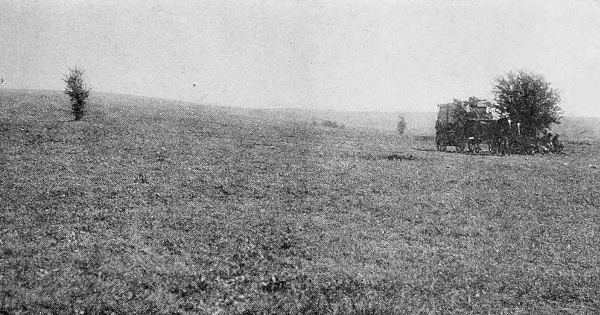
The Advanced Ambulance Wagon during the Bullecourt Days.
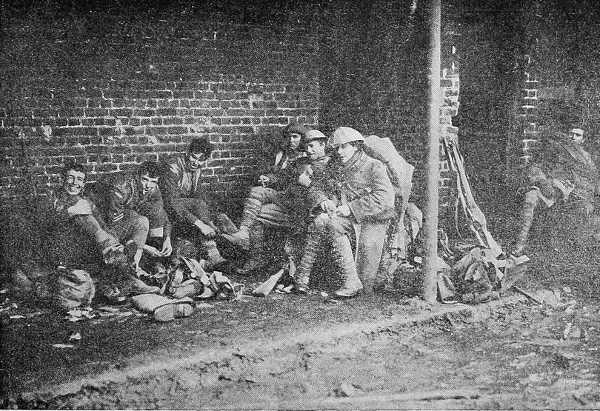
The Winter in Northern Billets. Even in the best trenches the mud was a problem.
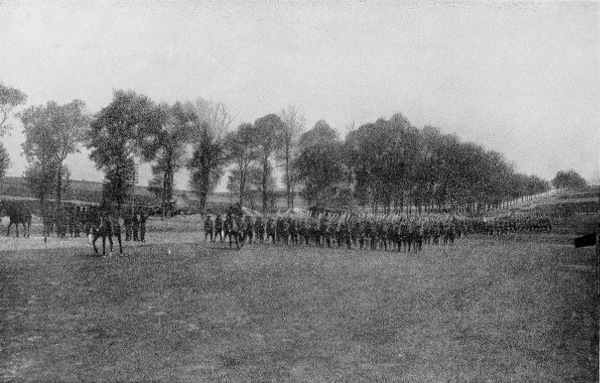
The Division which broke through the Hindenburg Wire reviewed by Gen. Birdwood after the Fight.
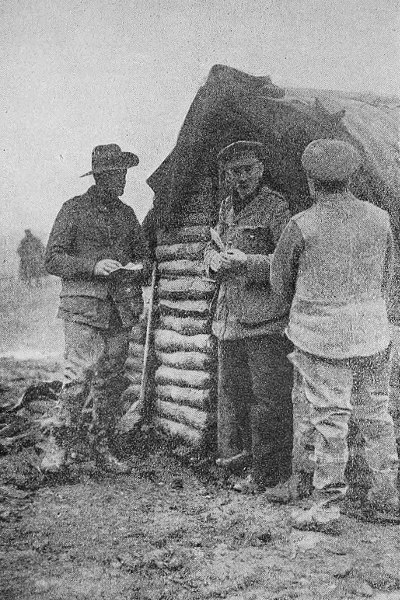
An Australian Artillery Officer's Home on the Somme.
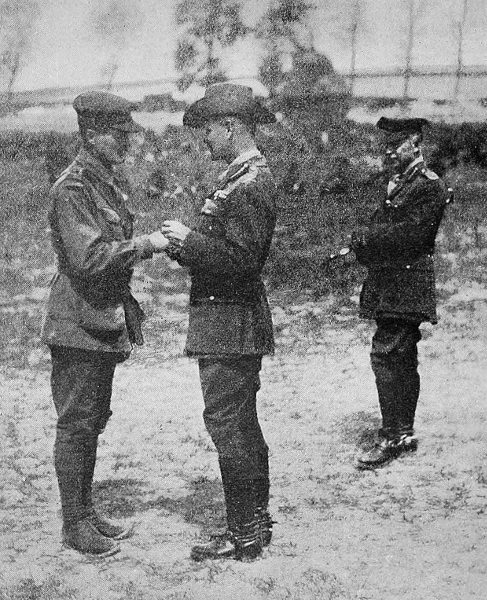
Gen Birdwood presenting Captain H. Murray, V.C., with the Ribbon of the D.S.O. to which he Won a Bar at Bullecourt. (Gen. Holmes in the background.)
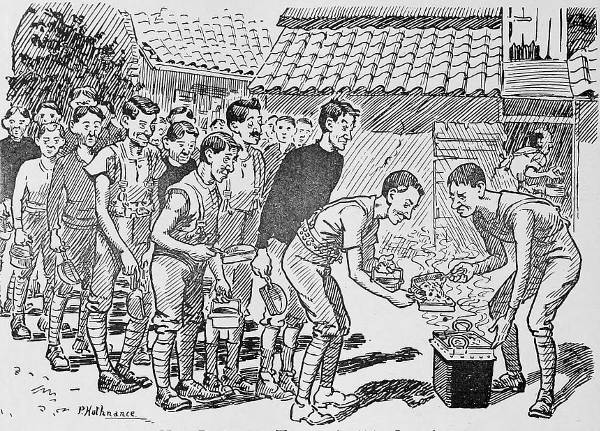
How Rations to Troops should be Served.
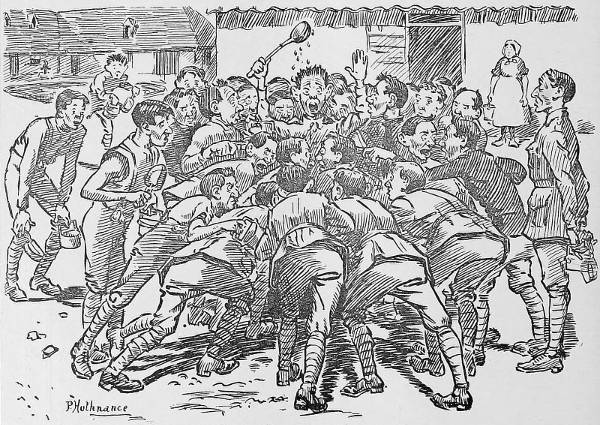
How they Serve Themselves if Allowed to.
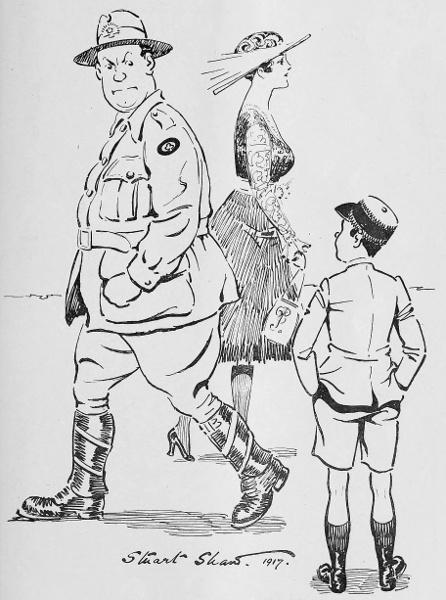
Overheard in a French Village. The Boy: "Hello, Bully Beef!"
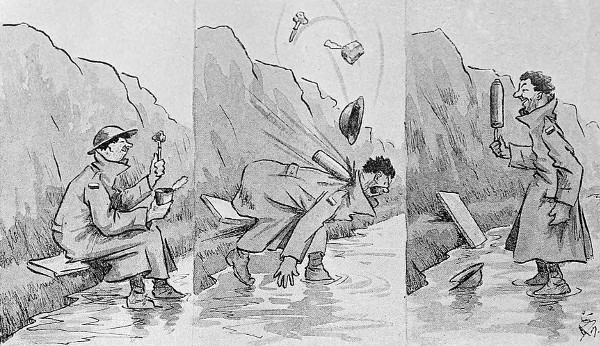
From a Christmas Letter.
"I was eatin' Christmas puddin' in the mud, When a whizzbang 'it me collar wiv a thud, An' I honestly expected that me bits 'ud be collected, But my luck was in—the beggar was a dud."
"I say, cobber, got 'ny room in there for me an' another bloke?"
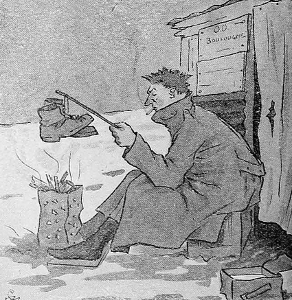
"When we had to thaw our boots before we could put them on our remarks were not pleasant to hear."
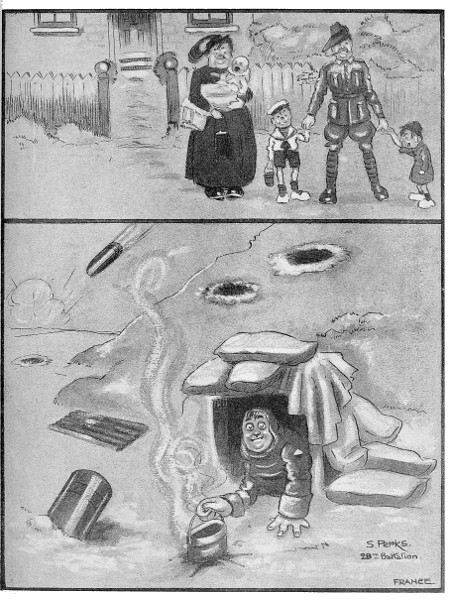
1. My Home in Dixie. 2. My Home with a Dixie.
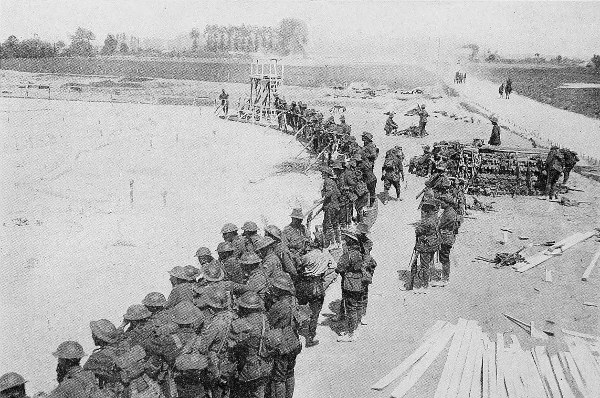
Australians studying the large Contour Map which was made for the Troops to give them a good knowledge of the country around Messines over which they had to attack.
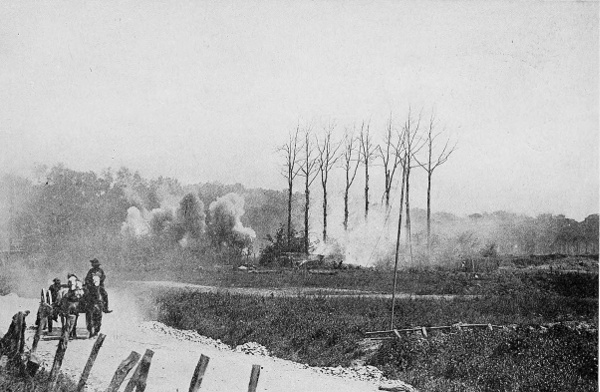
A Wagon rushing a road during the German shelling of our Batteries before Messines.
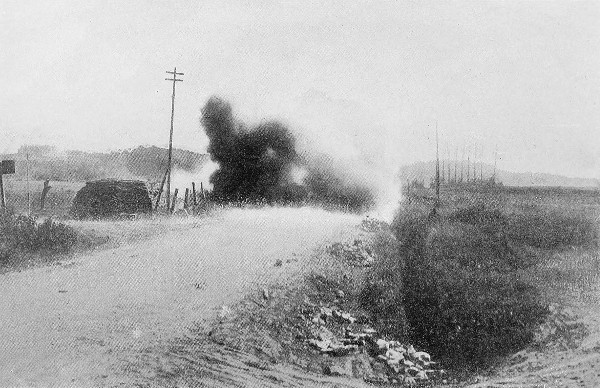
A German Shell bursting during the Messines Battle.
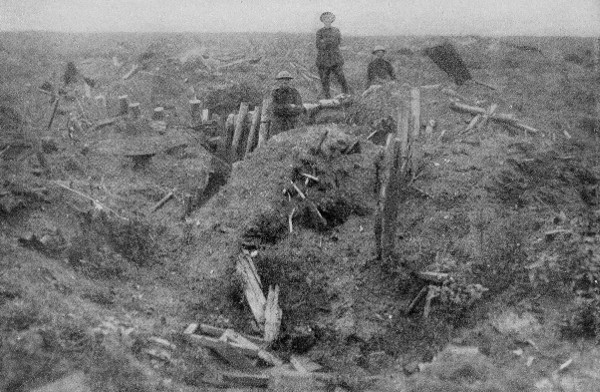
All that is left of the German Front Line at Messines.
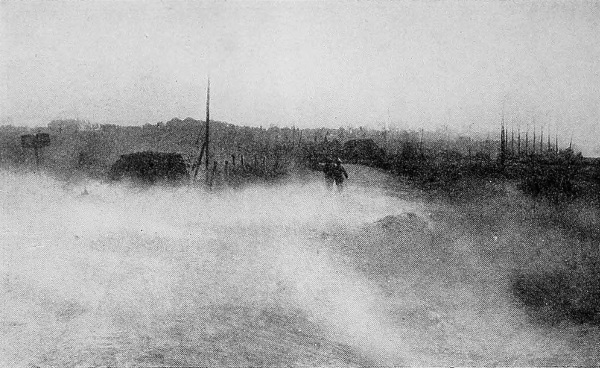
A German Shell-burst during the Battle of Messines.
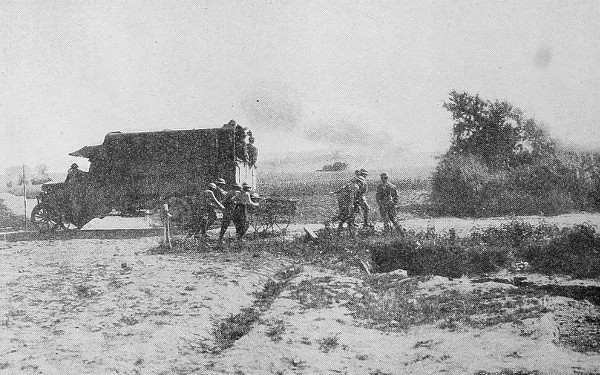
Battle of Messines: A Lorry-load of Australians watching a Burning Dump which had been hit by the German Shelling.
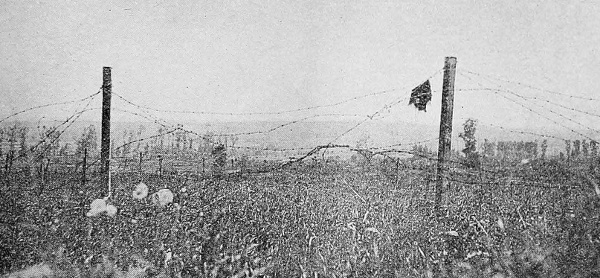
The Ridge at Messines: Scene of the Attack on June 7, 1917.
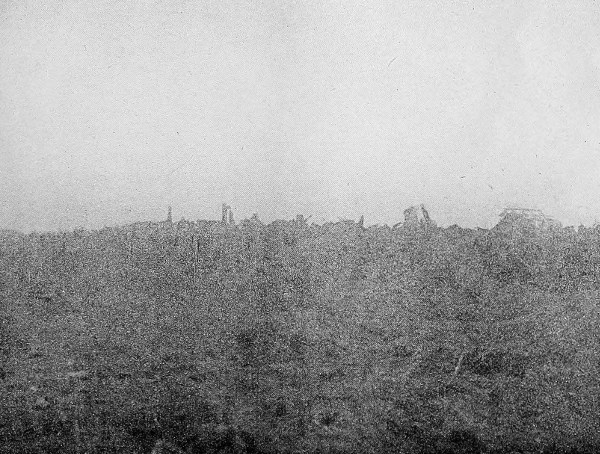
All that is left of Messines.
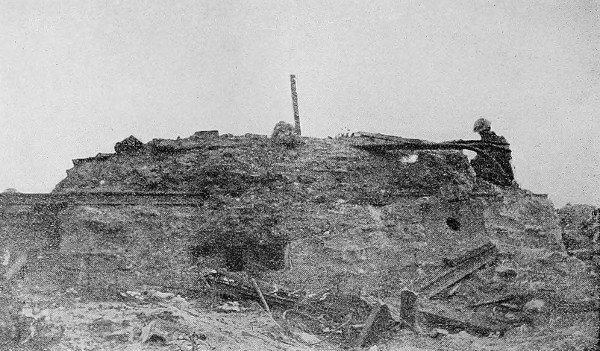
A German Concrete and Steel Blockhouse of the type which Australians first met at Messines.
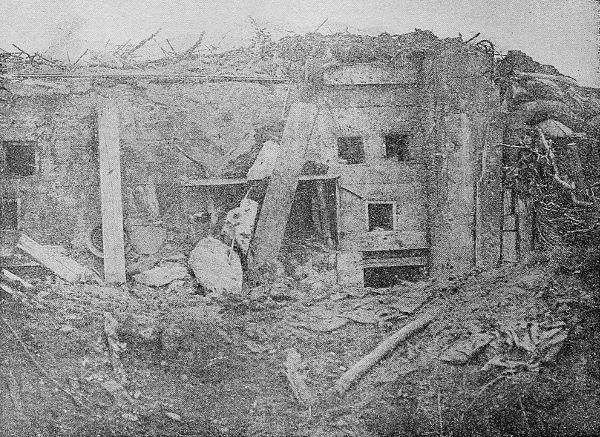
A German Concrete Blockhouse at Messines. Showing bits of the old "camouflage" for screening it on top, and the sockets for machine-gun ammunition let into the rear face of it.
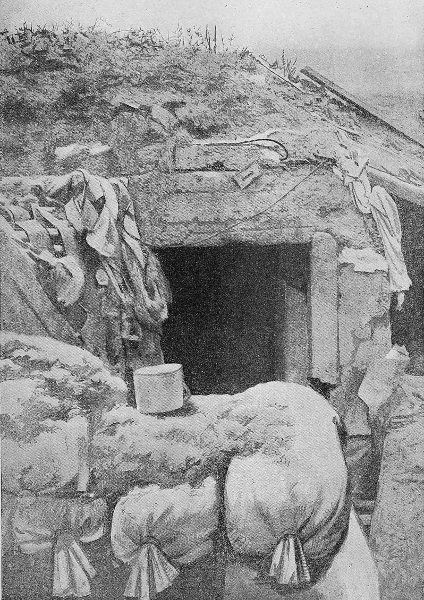
A German "Pill-Box" Shelter at Messines.
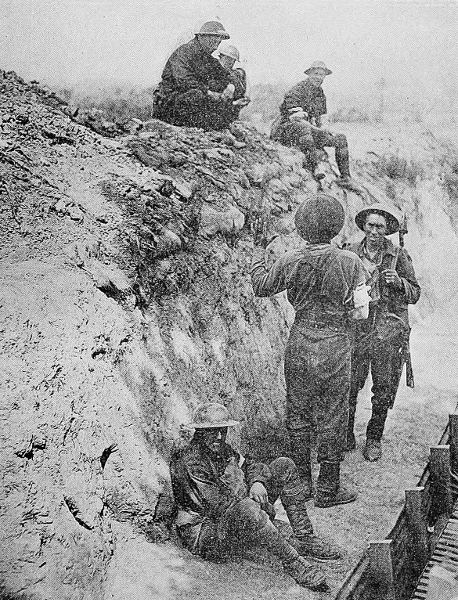
Messines: Wounded Coming Back during the Fight.
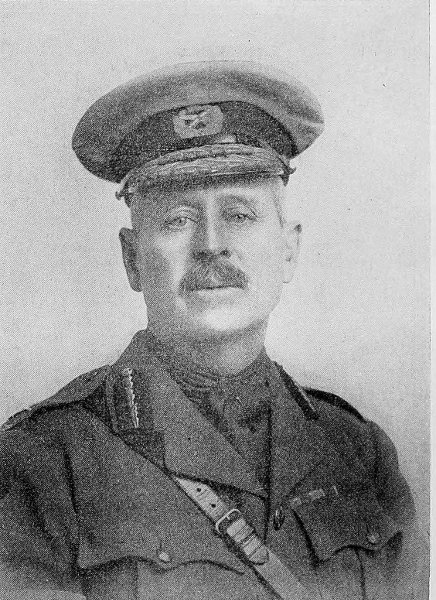
Maj.-Gen. W. Holmes, C.M.G., D.S.O., Killed near Messines shortly after the Battle.
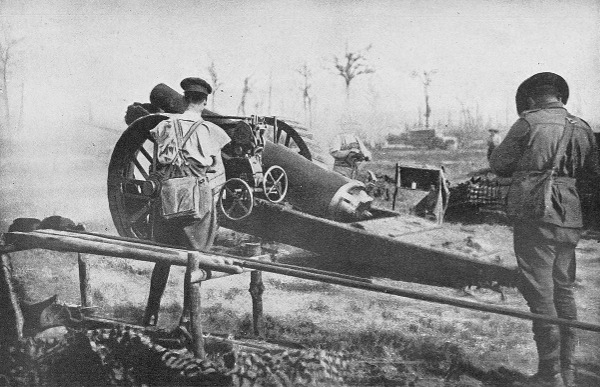
An Australian Heavy Howitzer in Action.
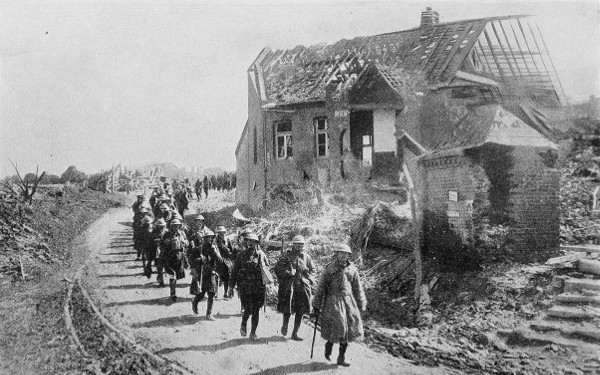
Coming out of the Line for a Rest.]
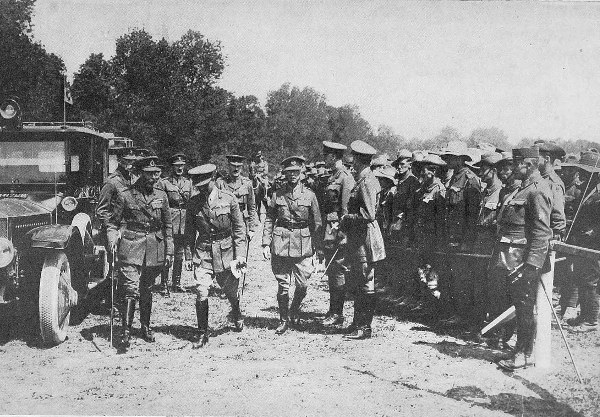
Behind the Lines: H.M. The King, with Gen. Birdwood leaving an Australian Sports Ground.
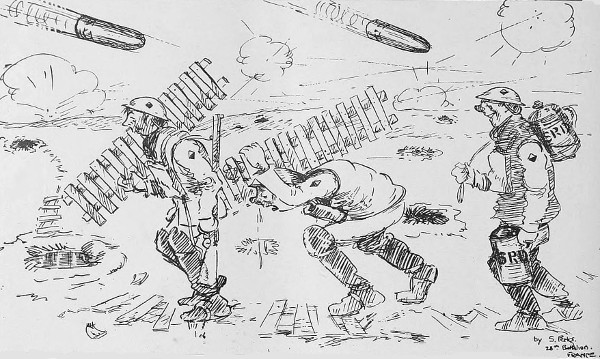
Fatigue Work somewhere on the Somme Front.
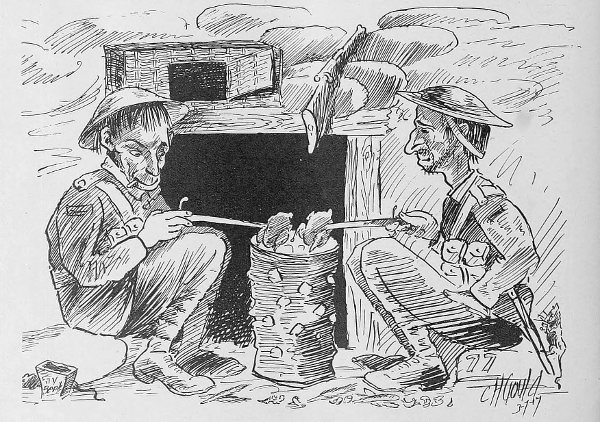
Extract from Intelligence Report: "Yesterday two of our pigeons failed to return."
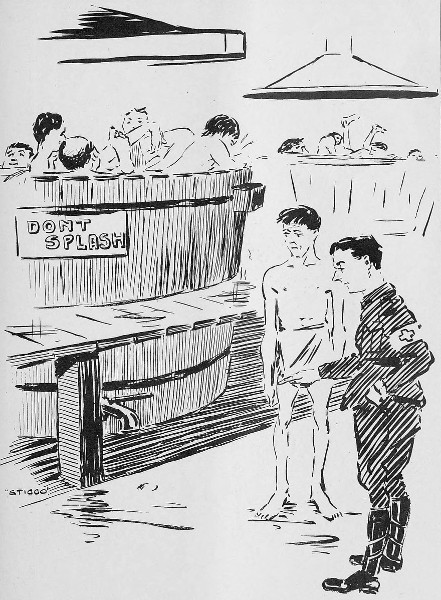
Divisional Baths. Billjim: "'Ow do yer git into the bloomin' bath, digger?" Orderly (thoughtfully): "Do yer see that tap? Well, crawl up through it."
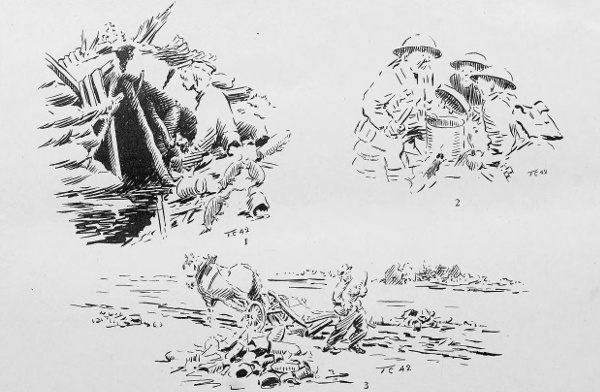
Some Duds. 1. Fritz: "Vill ve not another strategic retreat make when I haf nice fixed up my dug-out?" 2. Christmas Cheer—A Dud. 3. Après la Guerre—Another Dud.
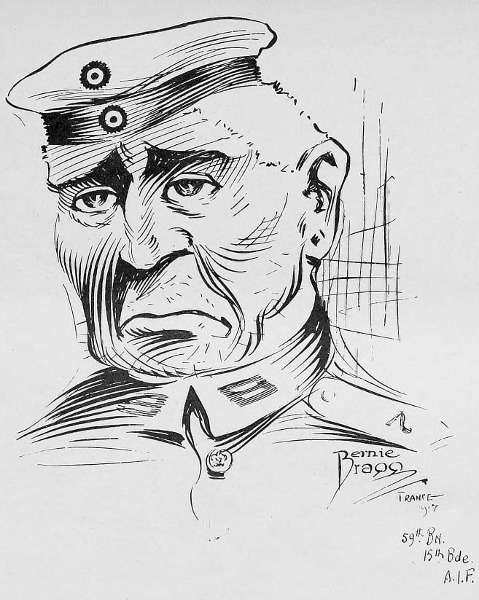
"Somebody's Darling."
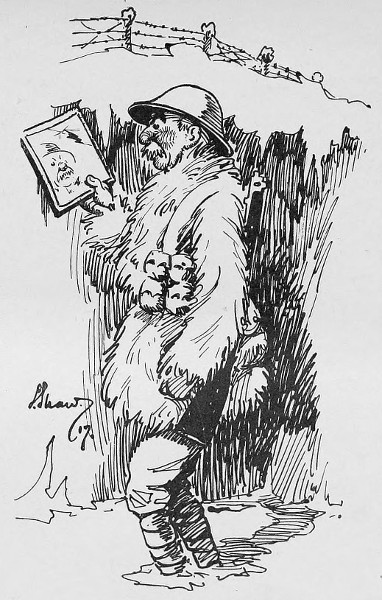
My God!
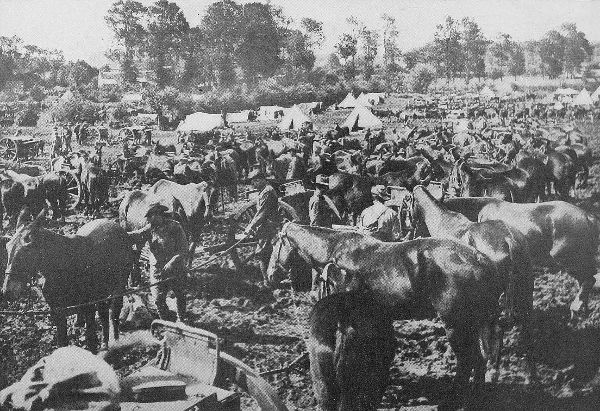
A Brigade A.F.A. out for a Brief Rest after many months in the Firing Line.
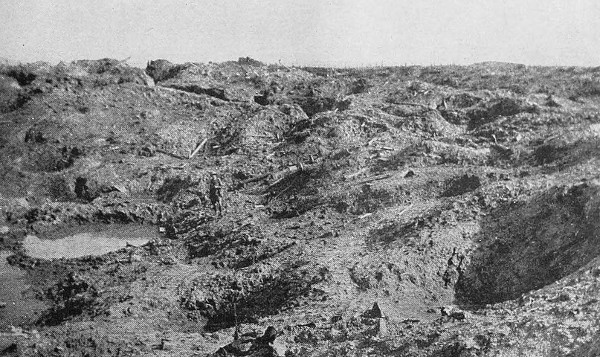
Part of an old big Crater at Hill 60, near Ypres.
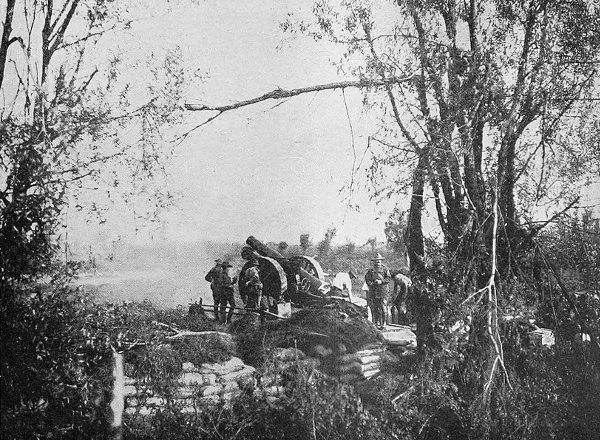
Beginning of the Battle beyond Ypres: A Howitzer in Action.
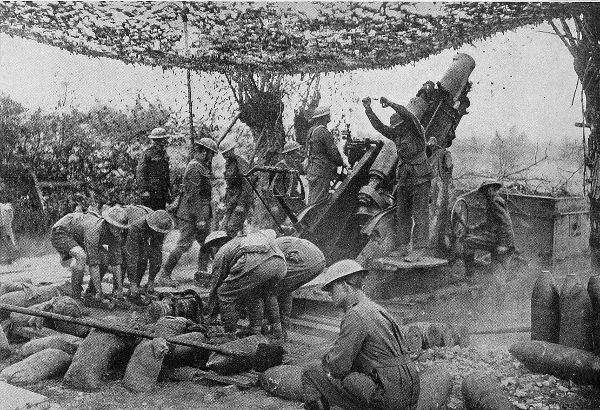
A Siege Battery in Action: Firing a Howitzer.
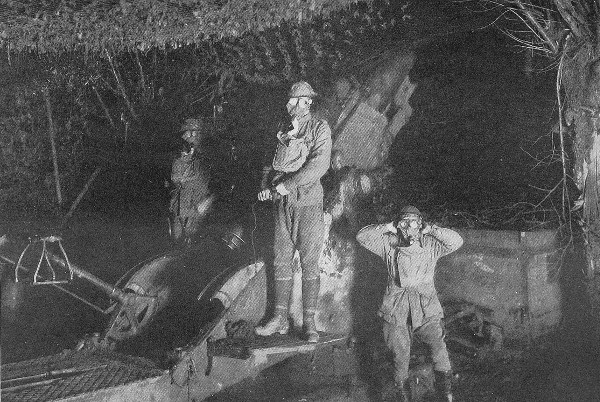
How the Guns are Worked in Gas.
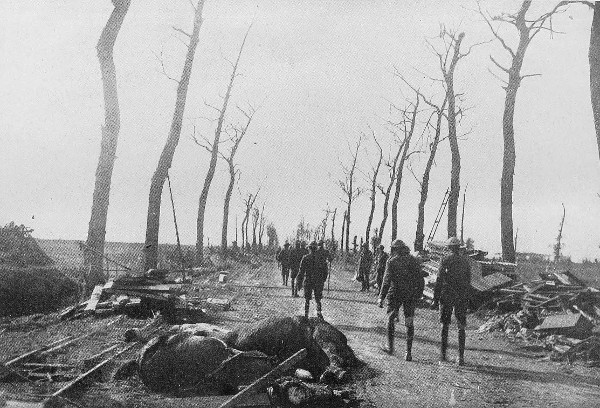
A Scene on a Road near Ypres.
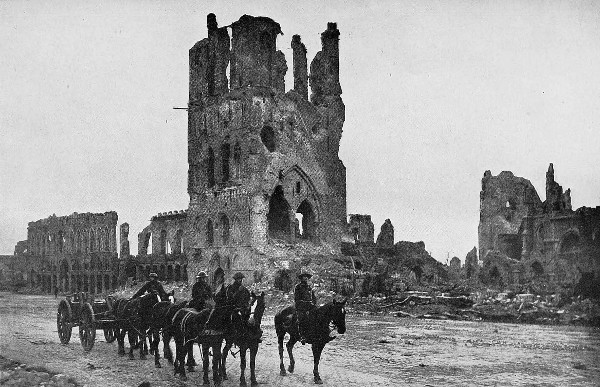
Ruins of the Cloth Hall, Ypres.
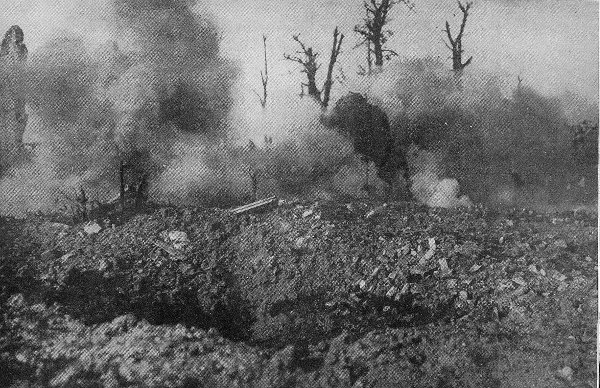
Shell Bursting amid the Ruins of Ypres.
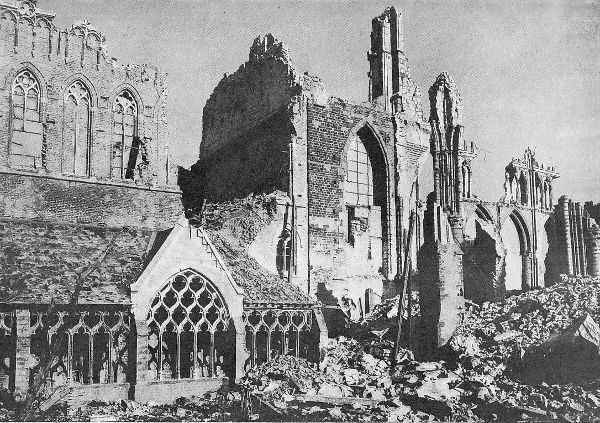
Ruins at Ypres.
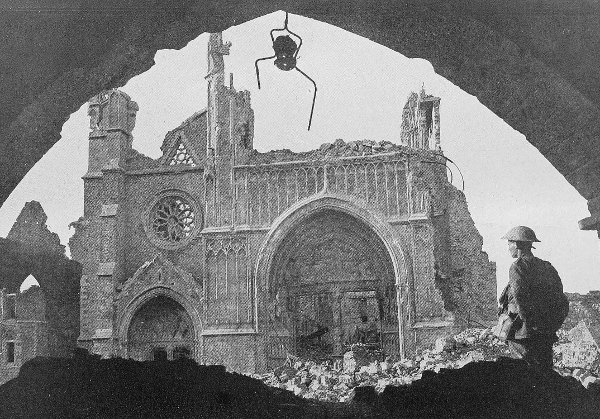
Ruins at Ypres.
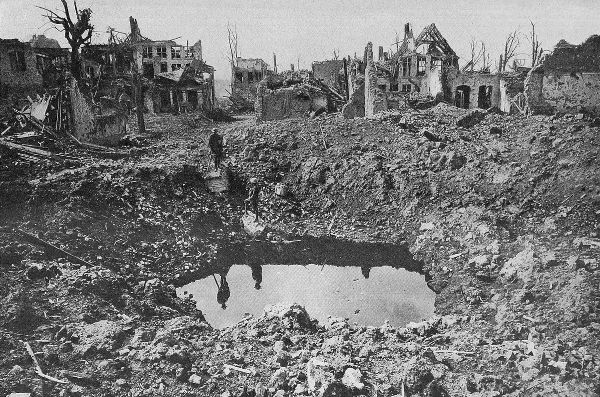
A Big Crater. This was 75 yards in circumference.
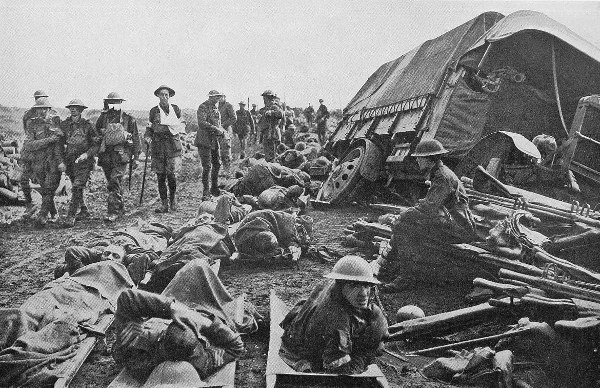
After the Battle of Menin Road. Wounded waiting to be taken to the dressing-station.
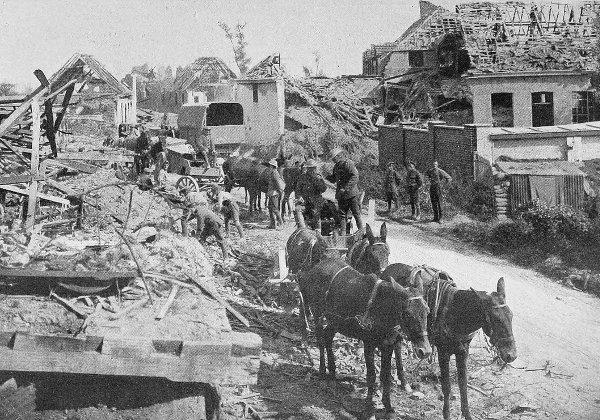
Clearing the Roadway.
THE GIRL HE LEFT BEHIND.
(With apologies to Capt. Bruce Bairnsfather.)
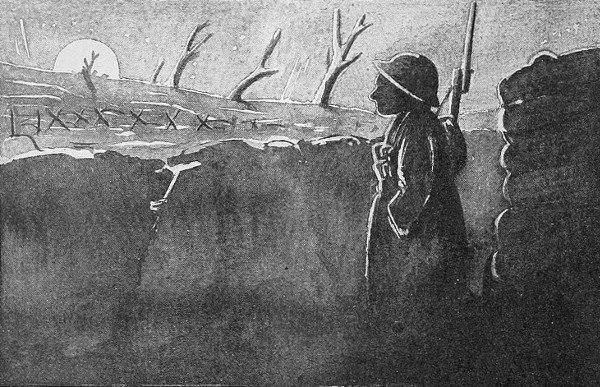
France, 11.30 p.m. "I wonder if the same dear old Moon is shining through her bedroom window."
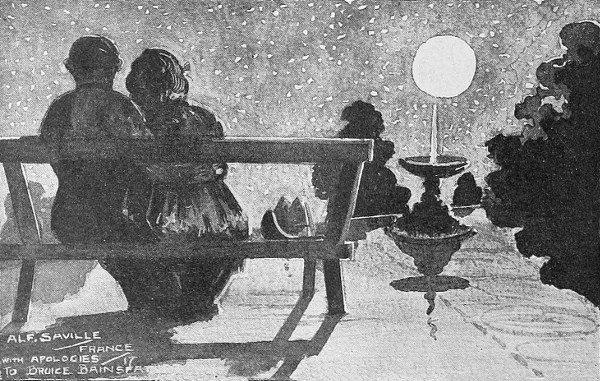
Blighty, 11.30 p.m. The Girl: "How annoying this beastly old Moon is!"
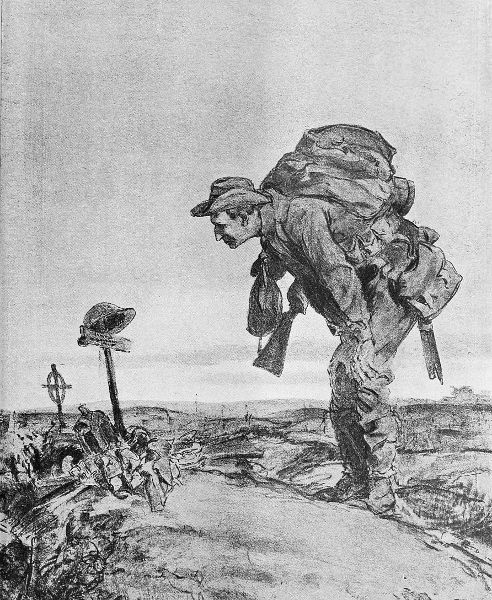
One of the old Platoon. Drawn by Will Dyson.
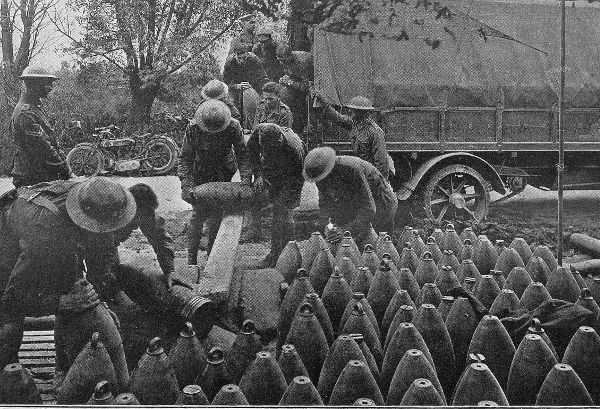
Food for the Guns.
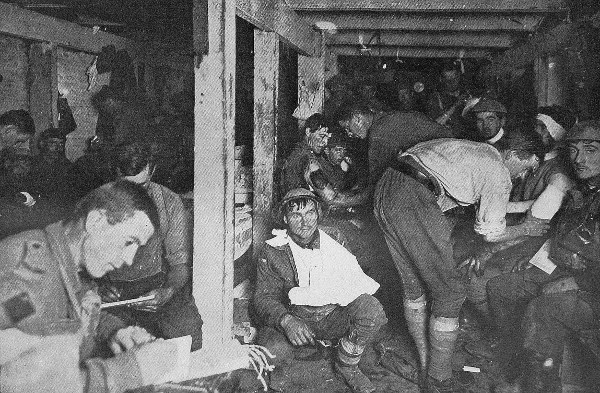
Scene in an Advanced Dressing-Station.
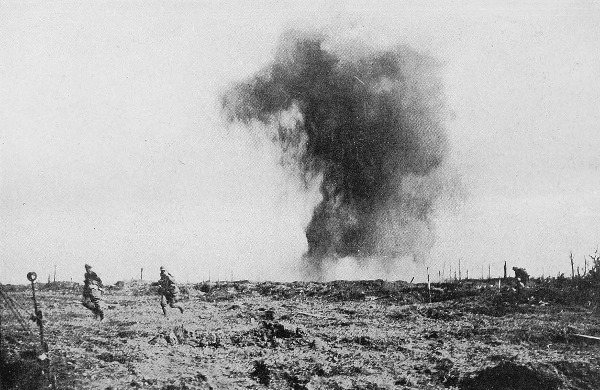
A Shell burst in Glencorse Wood.
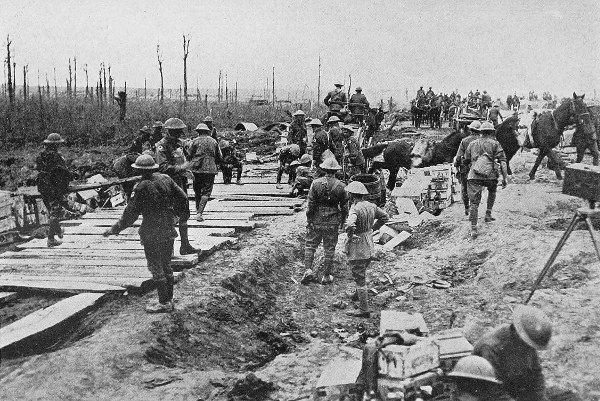
Australian Pioneers construct a Roadway while the Battle is proceeding.
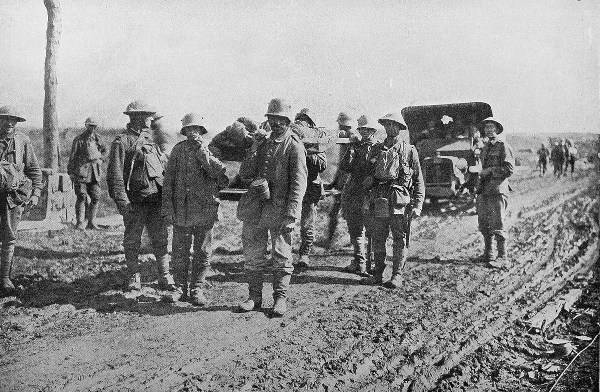
Boche Prisoners assisting to bring in our Wounded.
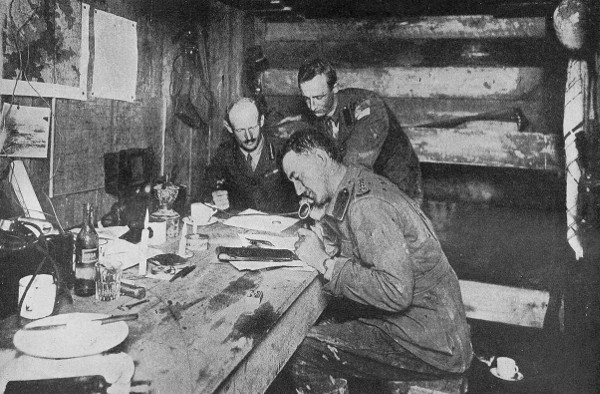
Conducting Battle Operations.
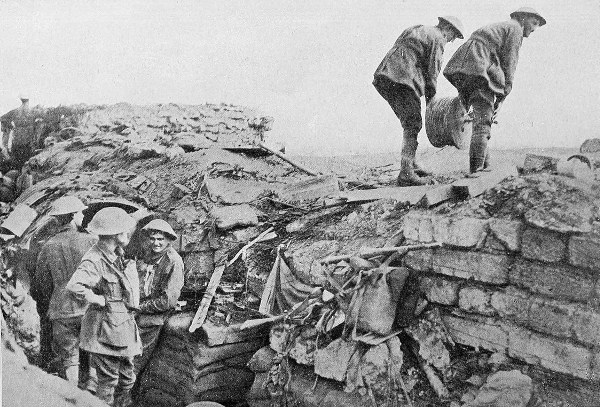
Communications must be kept up at all costs, and these men are seen going to run out New Lines during the Battle of Zonnebeke.
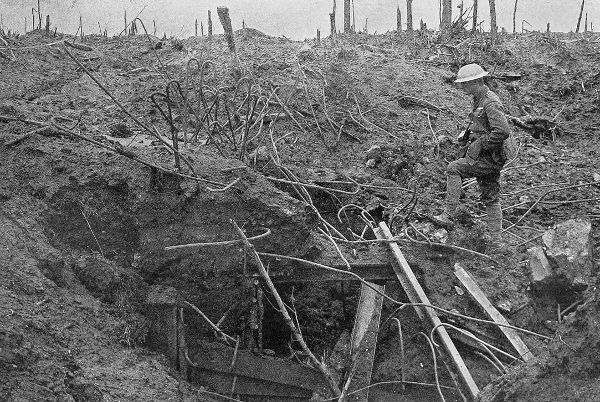
The Effect of a 9.2 British Shell on a Reinforced Concrete German Dug-out. The dug-out was some feet below the surface of the ground and the concrete roof and wall were over 2 feet thick.
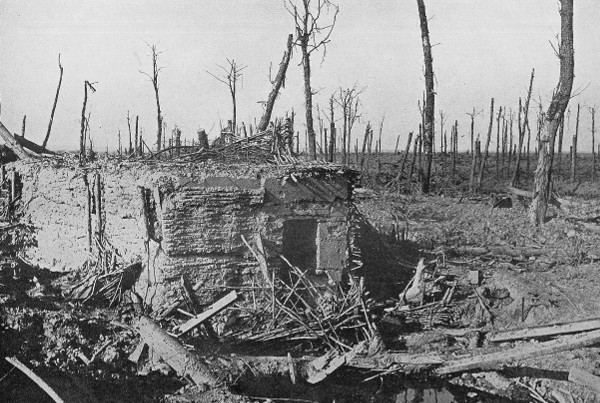
A Boche Residence that is practically Shell-proof.
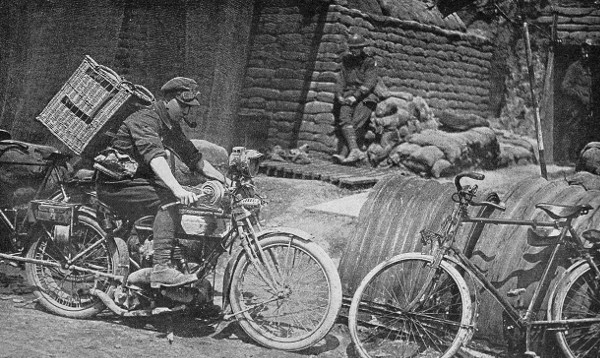
An Australian Pigeons Dispatch Rider leaving Signals H.Q.
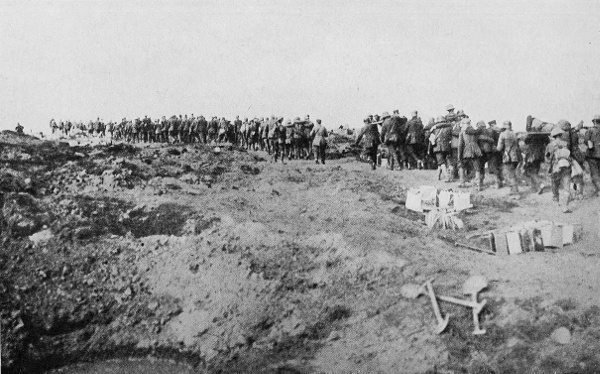
The Fight for the Ridges: A Procession of Boche Prisoners to our rear.
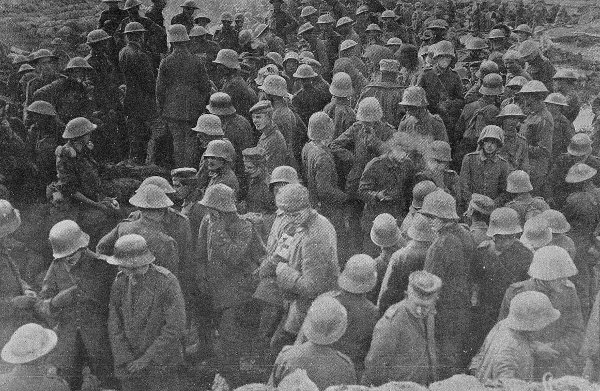
Boche Prisoners wearing their Characteristic Helmets.
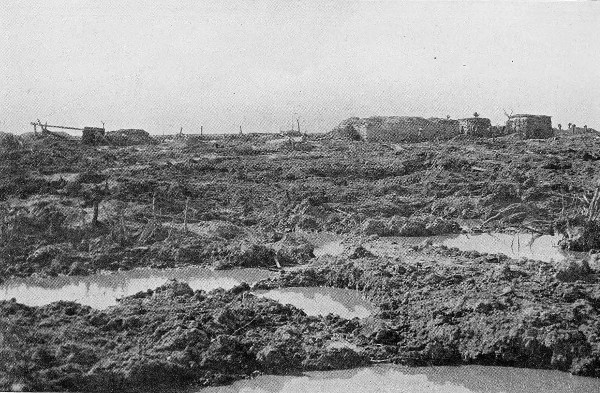
The Fight for the Ridges: The Type of Ground over which the Advance was made during September.
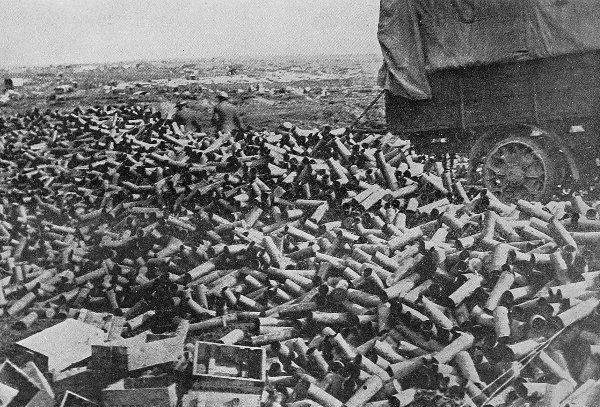
A Few "Empties" used during the Battle of Zonnebeke.
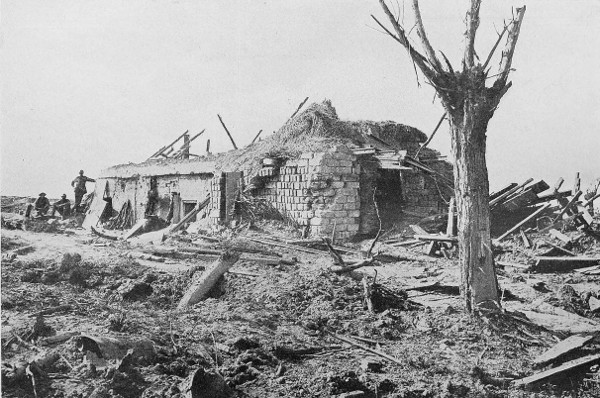
A Captured Strong Point. Note the great thickness of concrete above the entrance.
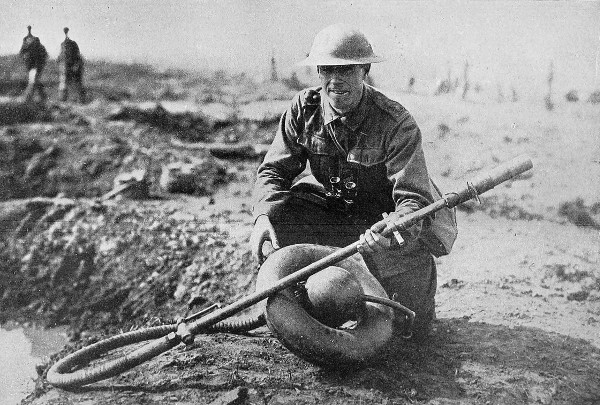
A Captured Flammenwerfer.
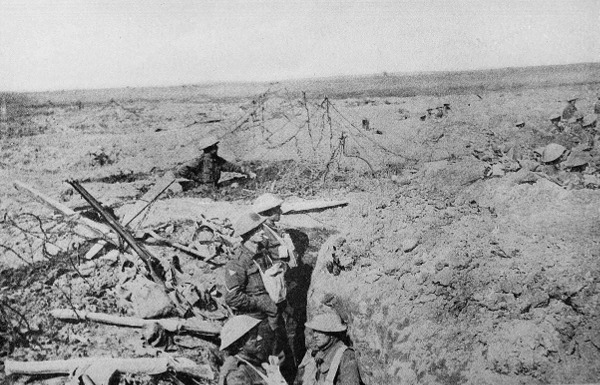
The Fight for the Ridges: The Advanced Line in Shell-holes.
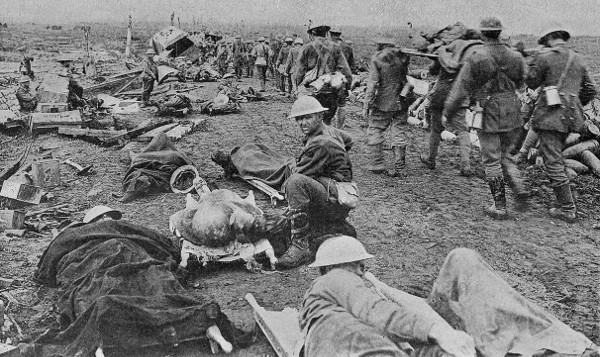
After a Battle: Wounded awaiting Ambulance Transport.
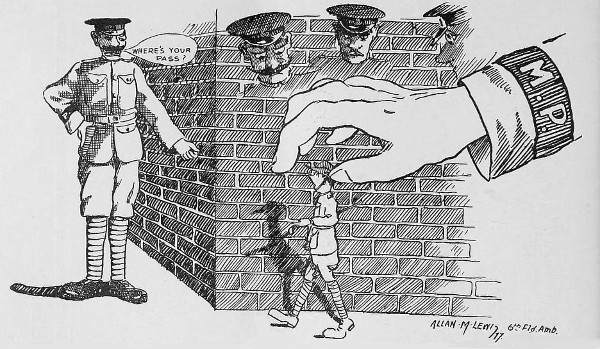
What it Feels Like without a Pass when on Leave.
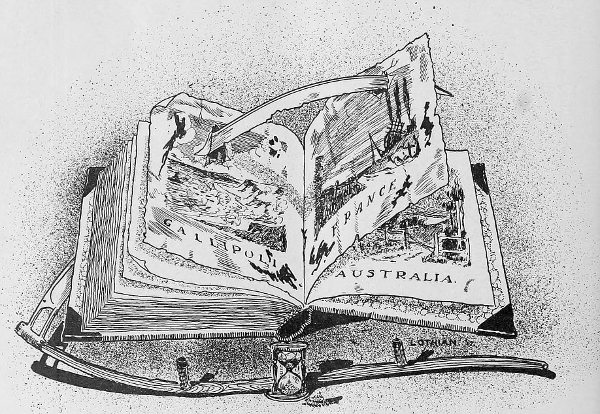
The Clean Page—When?
Printed by Cassell & Company, Limited, La Belle Sauvage, London, E.C.4 F. 1000. 1117