How to Get PERFECT Results from Recipes in this Book....
Reading edition

1 Read Recipe Carefully! Every word of it. And do be sure to see if there’s anything to be done before you start mixing ... like chopping nuts or melting chocolate.
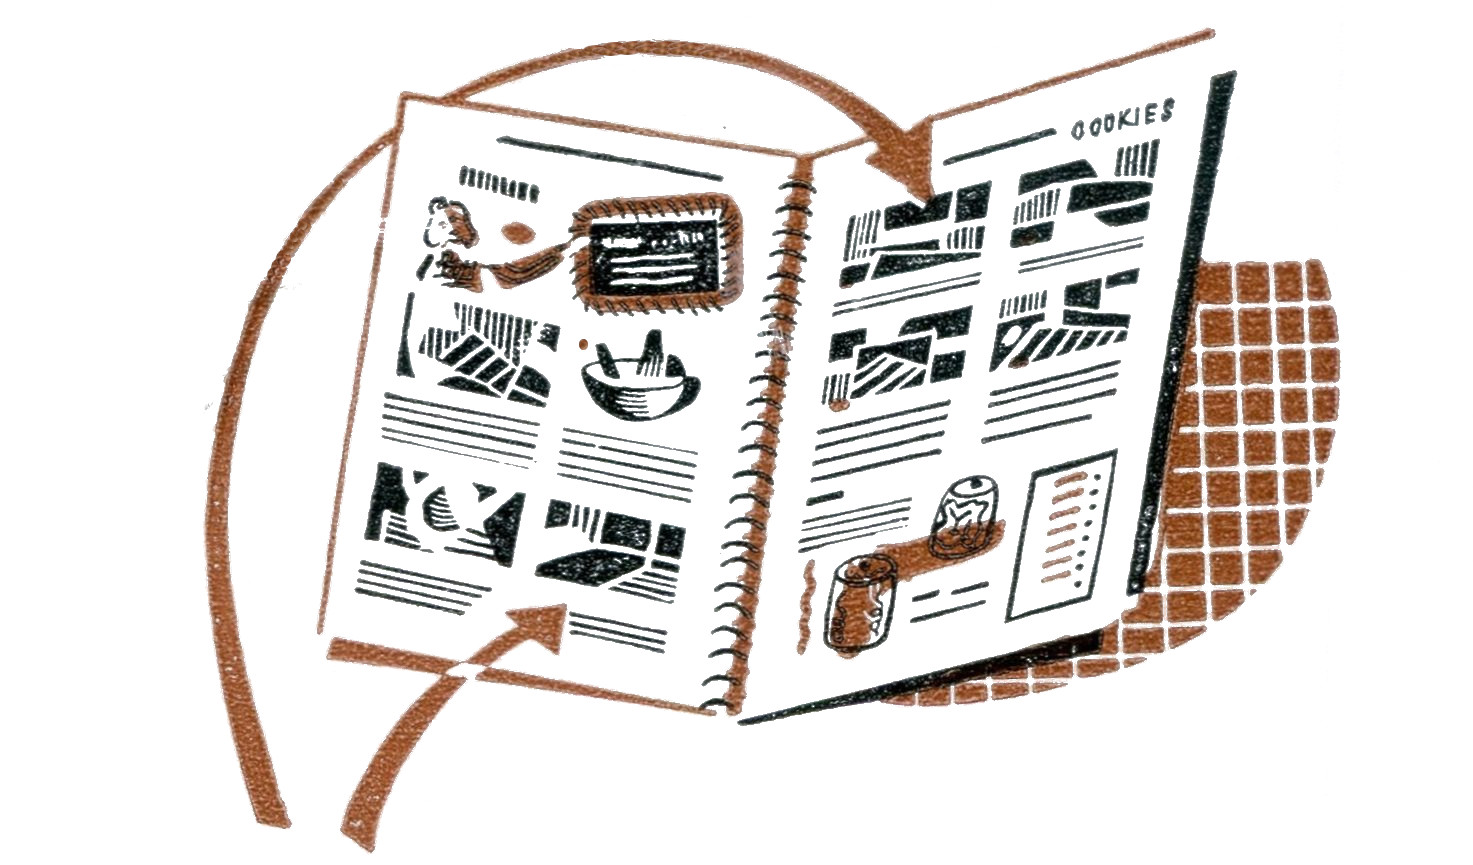
2 Look at the Pictures! They give you “know how” you need for every step.
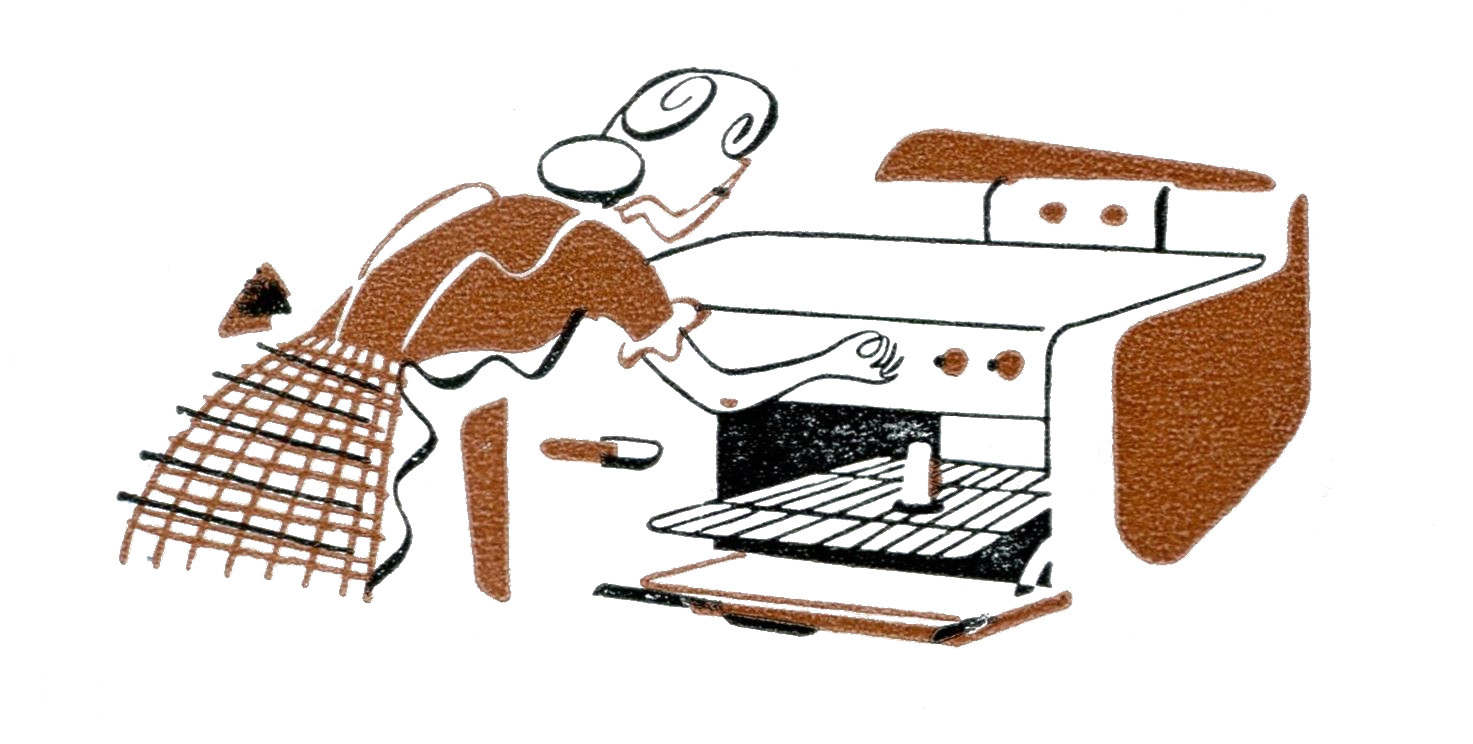
3 Turn on the Heat! If the cookies are to be baked immediately after mixing, see that the oven is heated to correct temperature.
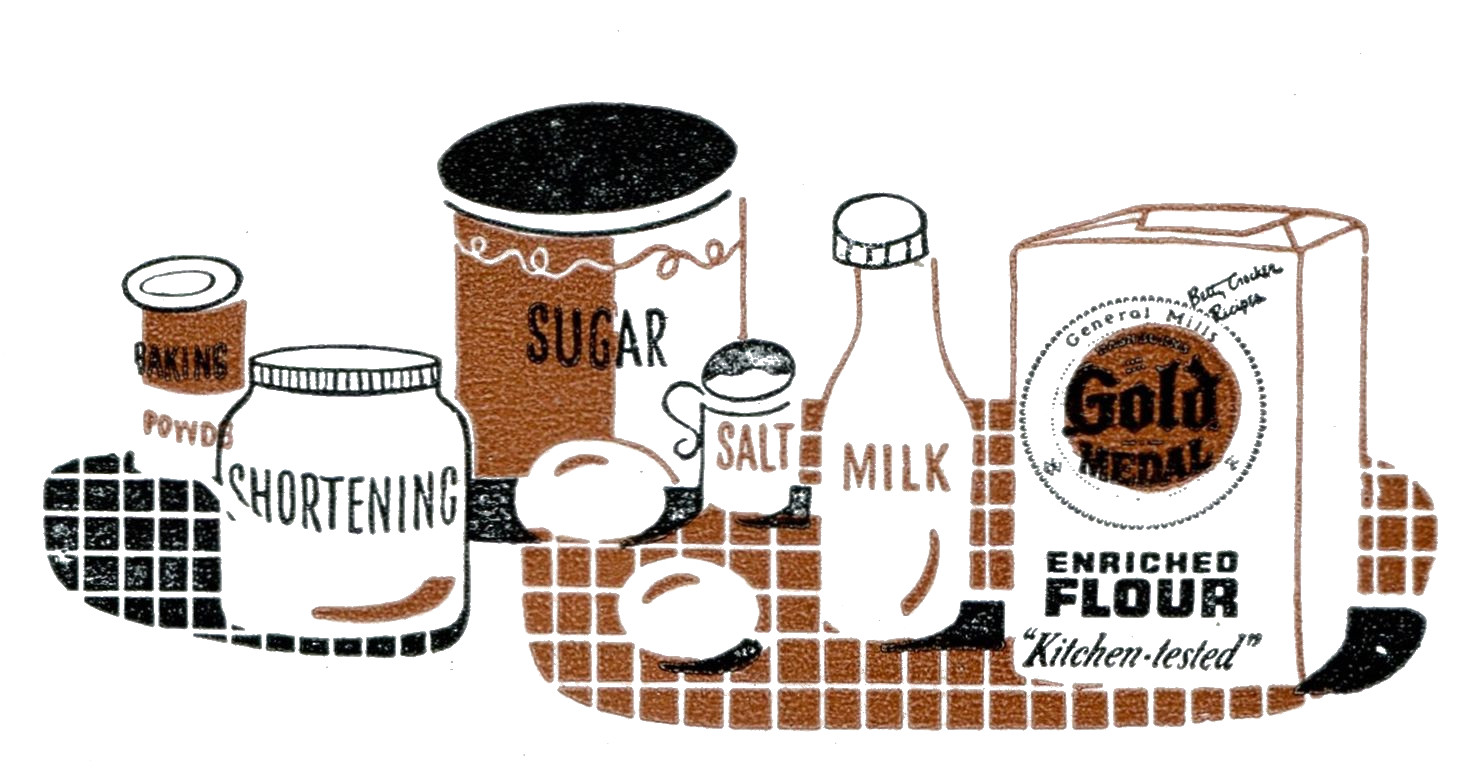
4 Get Your Ingredients Together! Saves time and steps to have them all in one place.
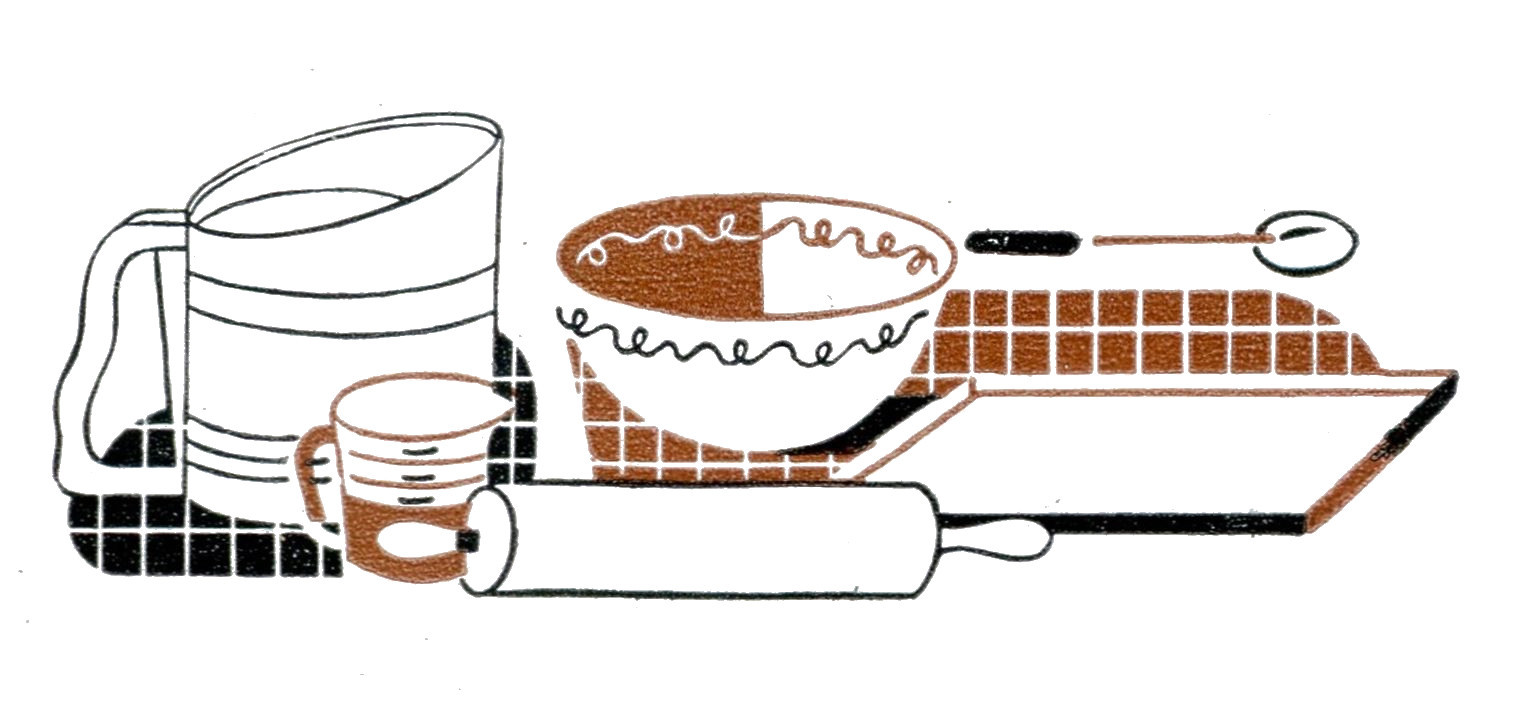
5 Collect Utensils, Too! Gather together all you’ll need ... from the flour sifter to the baking pan.
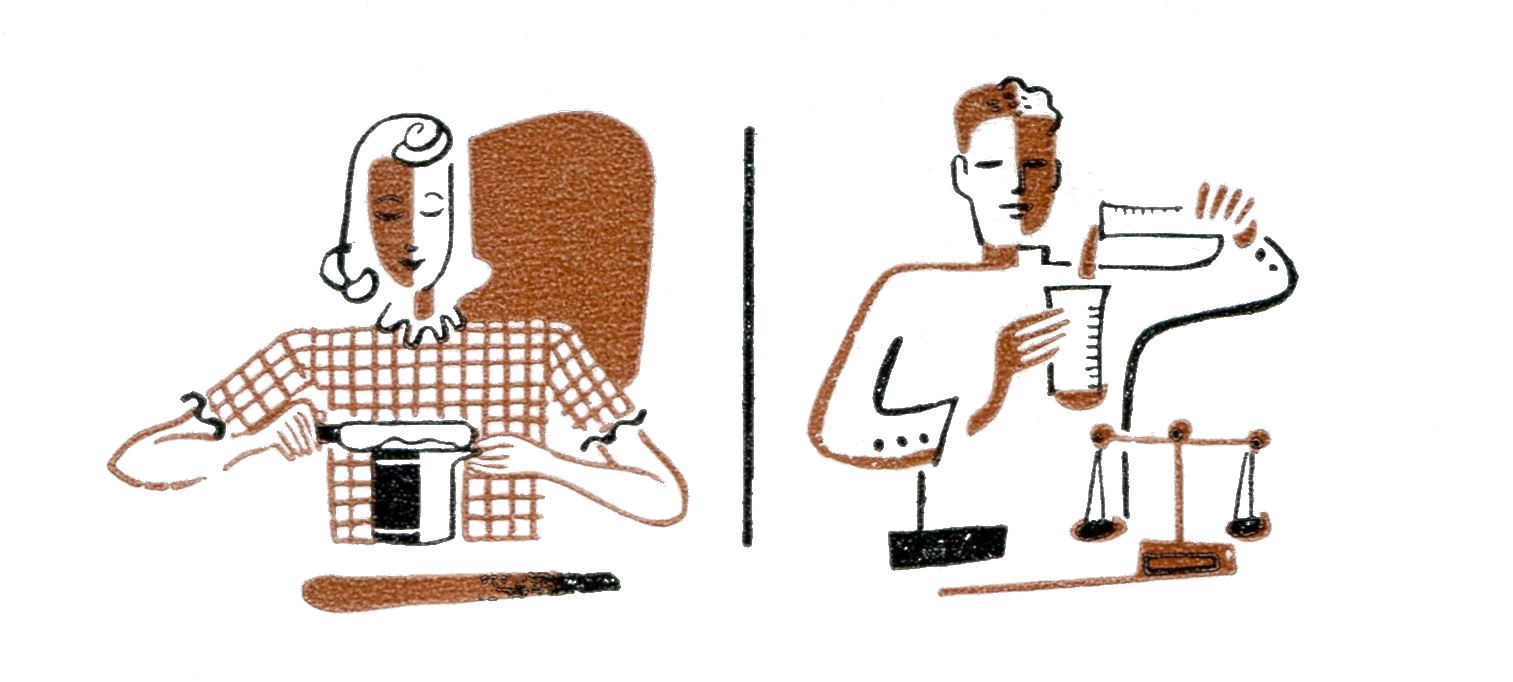
6 Measure as Exactly as a Druggist follows a doctor’s prescription! Two minutes spent measuring carefully may save you hours of grief.
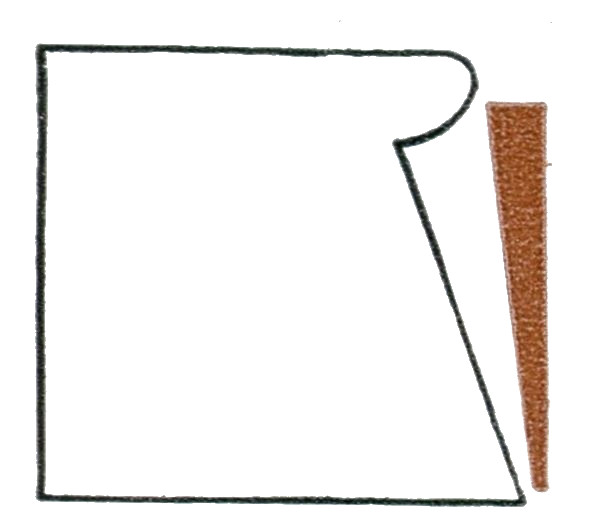
Use squares of paper when sifting, measuring, etc.
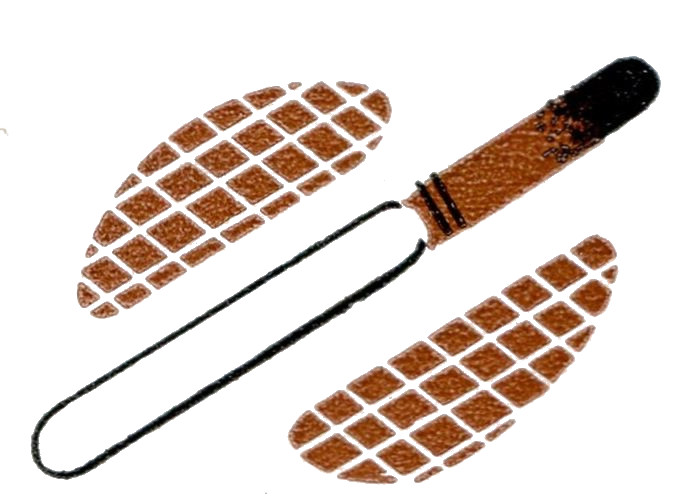
Use straight-edged knife for “leveling off.”
Cooking success is up to you! If you’ll take pains to measure true, Use Standard cups and spoons all the way. And then level off—it’ll always pay!

Dry Measuring Cup has no rim ... 1-cup line is even with top. Use for any dry ingredients or shortening. Liquid Measuring Cup ... has rim above the 1-cup line. Use for measuring any liquid ingredients. Graduated Measuring Cups ... ¼, ⅓, ½, 1 cup. Use for part-cups of any dry ingredients or shortenings. Measuring Spoons ... ¼, ½, and 1 teaspoon, 1 tablespoon. Use for less than ¼ cup of any ingredient.