Part 1 — CHAPTER V Operation of Woodworking Machines
Reading edition
54. Importance of Machine Operations.—A fair understanding of what is the correct position to take at some of the principal machines such as the lathe, universal saw, jointer, and sander, is very important to the student in the wood-working department. Such knowledge is of special importance to the one engaged in toy making, where every knowledge of use of machines, is put to the test.
Fig. 29. The roughing cut
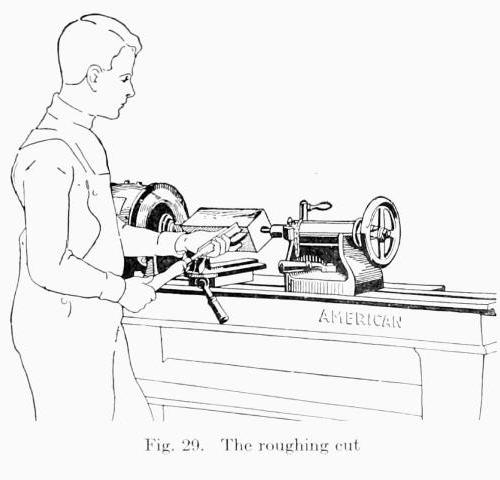
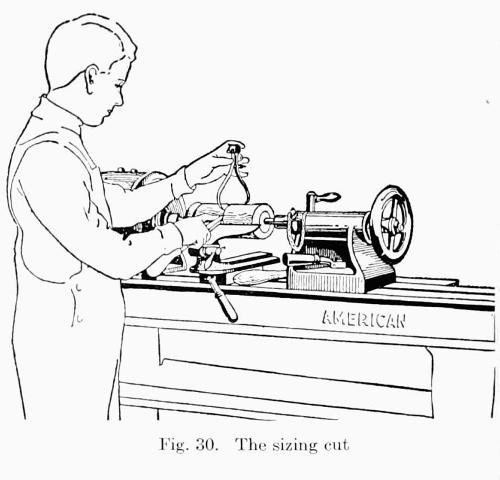
Fig. 30. The sizing cut
Sufficient examples are given to enable the student to arrive at a fair understanding of the correct postures.
55. Operating the Lathe.—The lathe is perhaps one of the most important machines used in toy making. It lends itself to unlimited varieties of work and for that reason is really indispensible in the shop.
In Fig. 29 the student is preparing to take the roughing cut in turning a cylinder. This operation consists of removing the corners of the square piece and is done with the tool known as the gouge.
After the roughing cut has been taken, calipers set to the diameter desired will determine the depth of the next cut, sizing cut. The illustration in Fig. 30 shows the student performing this operation with the cut-off tool.
Fig. 31. The paring cut
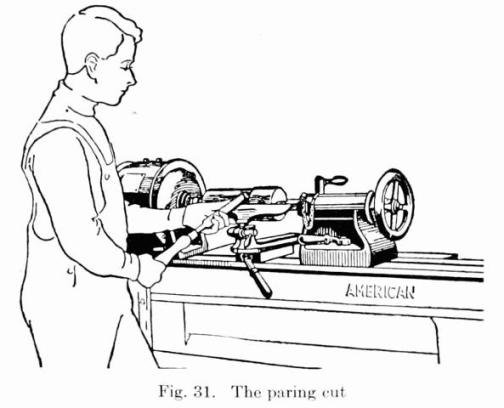
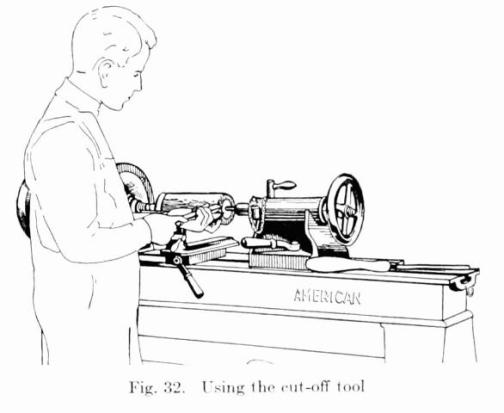
Fig. 32. Using the cut-off tool
When the correct dimension has been found, the next step in the process of turning a cylinder is the paring cut or finishing cut, Fig. 31. This is done with the skew or bevel chisel. A very thin shaving is removed by this operation.
The ends are then cut by using the cut-off tool as shown in Fig. 32. It is merely taking a slice off the end. If a very thin slice is to be removed, it is usually made by the long point of the skew chisel. If it is more than a quarter of an inch it should be sized and then removed by the skew.
If it is desired to round the end of a piece or to produce a convex surface the operation can be done by applying the broad side of the skew chisel, as in Fig. 33.
56. Face Plate Turning.—The preceding paragraphs describe the process of turning when the piece is supported between the live and the dead centers. The processes shown in Figs. 24, 25 and 26, illustrate the character of the work done with the head stock only when the piece is supported by the screw-center chuck or face plate.
Fig. 33. Making convex surfaces
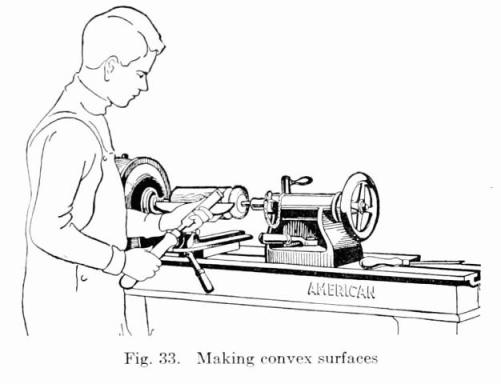
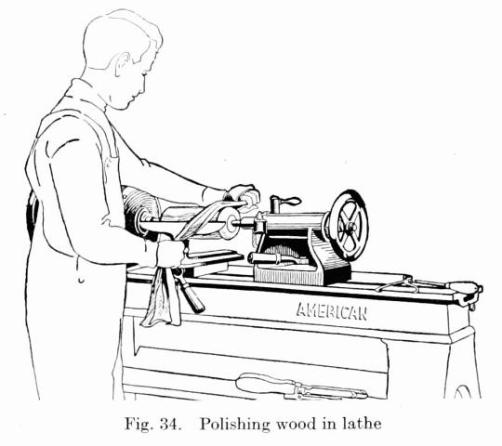
Fig. 34. Polishing wood in lathe
The first step in face plate turning is the scraping cut, Fig. 24. This cut is properly made with the concave chisel held in such a position as to give a light scraping cut. Care should be exercised not to allow the chisel to extend too deeply, otherwise the material will chip with the grain. After the desired circumference has been obtained the surface should be smoothed with the skew chisel.
Fig. 35. Cutting off stock
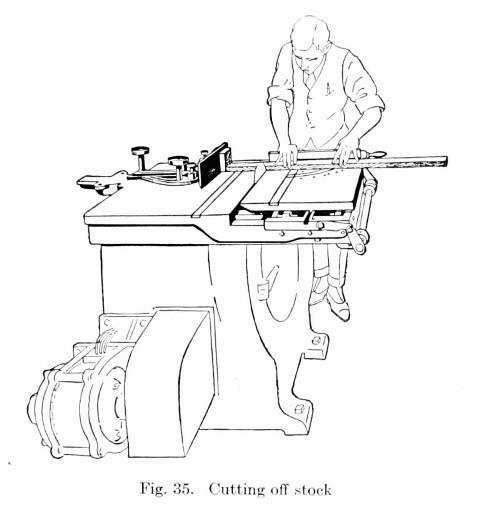
Fig. 36. Fluting on circular saw
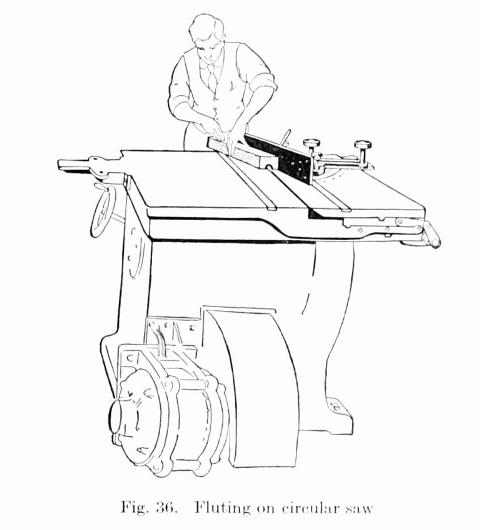
Fig. 25 shows the student modeling a rosette, using the rest, set at right angles with the bed or parallel with the face plate. Prior to the modeling a shearing cut should be taken with the skew chisel to face off the material to an even surface.
The illustration in Fig. 26 shows the use of the dividers. The student is marking off to a uniform scale the position of the various corrugations in the rosette he is turning.
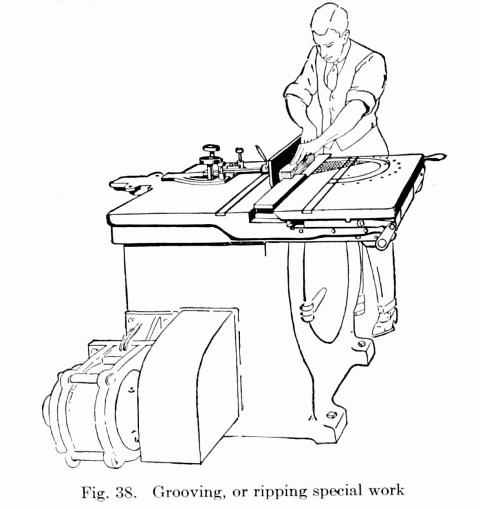
57. The Universal Saw.—The operations that can be performed on the universal saw are so many that no attempt will be made to illustrate them all here. But enough are given to show the characteristic operations involved in cross-cutting, ripping, and dadoing,—the three basic uses of a circular saw.
Fig. 37. Cutting with special fence
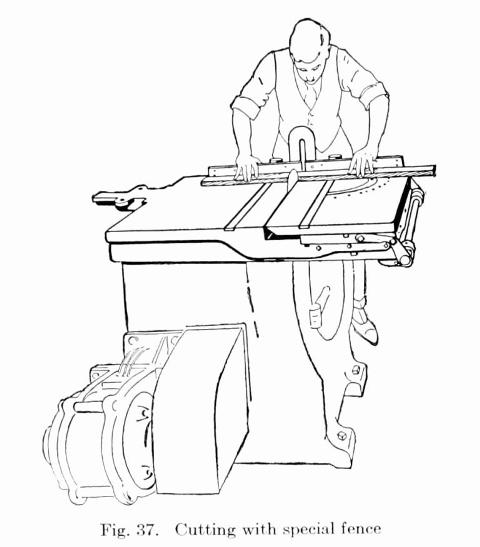
Fig. 38. Grooving, or ripping special work
It is a more dangerous tool than the lathe and the guard should be kept over the saw at all times, except of course, in dadoing when it can not be used.
Figs. 35, 36, 37, 38, 39, illustrate the basic uses of a circular saw.
Fig. 39. Cutting segments
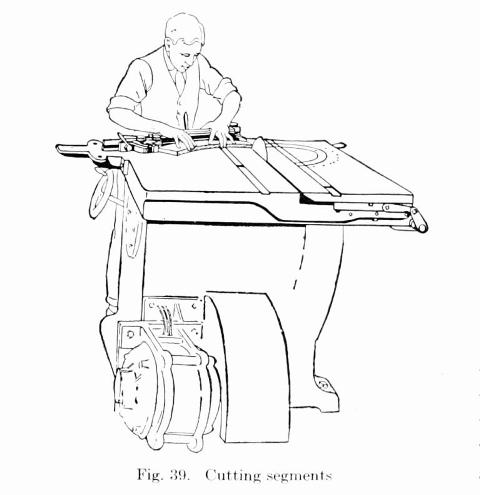
Fig. 40. Surfacing board on jointer
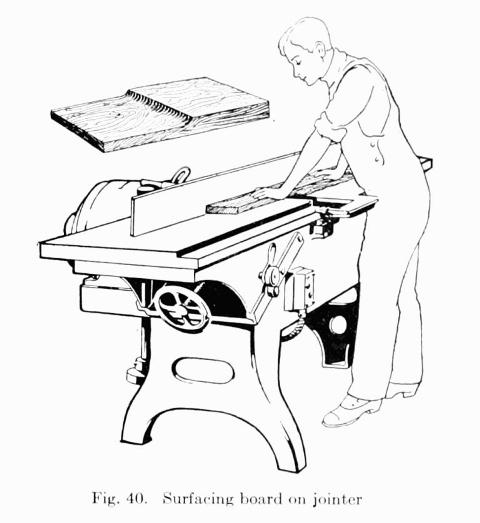
58. The Hand Jointer.—The great variety of work that can be done on a hand jointer depends very largely upon the knowledge and skill of the operator. It lends itself to so many operations, that the student gains much in knowledge and efficiency.
Fig. 41. Cutting bevels on jointer
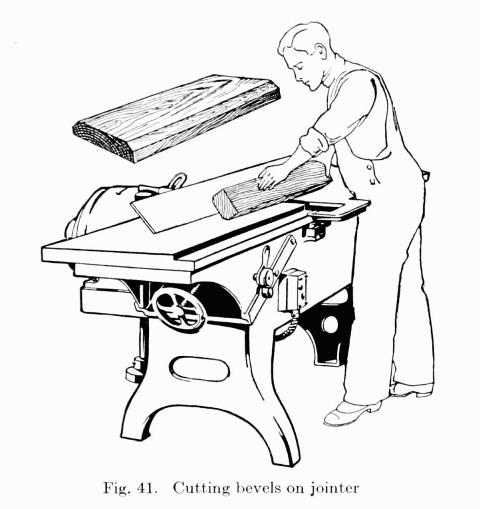
Fig. 42. Jointing the edge
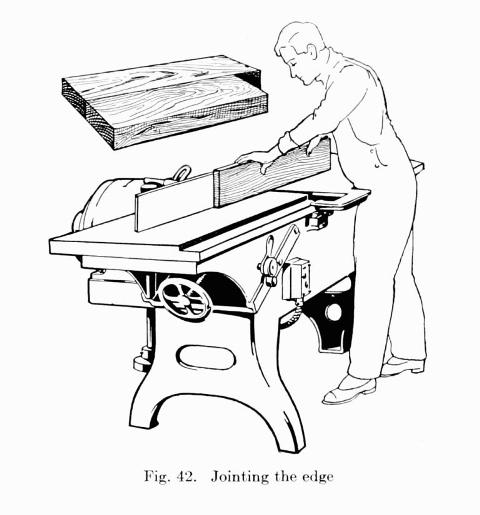
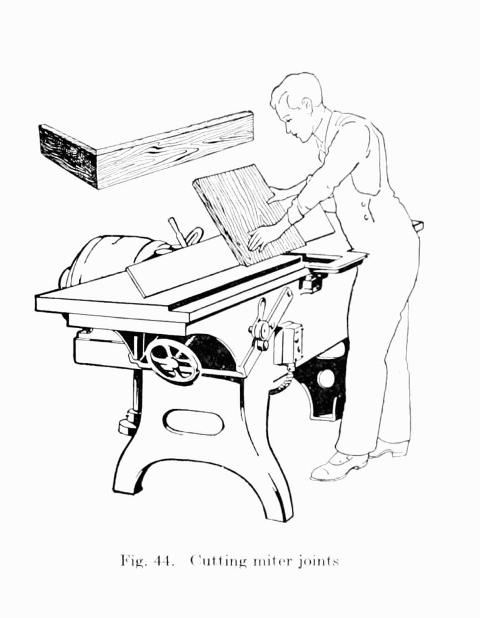
The five operations shown in Figs. 40, 41, 42, 43 and 44, give a fair idea of the scope of work that is usually accomplished on a hand jointer and show something of the method by which the work should be done.
The jointer is another tool where the use of the guard should never be omitted.
Fig. 43. Rabetting on the jointer
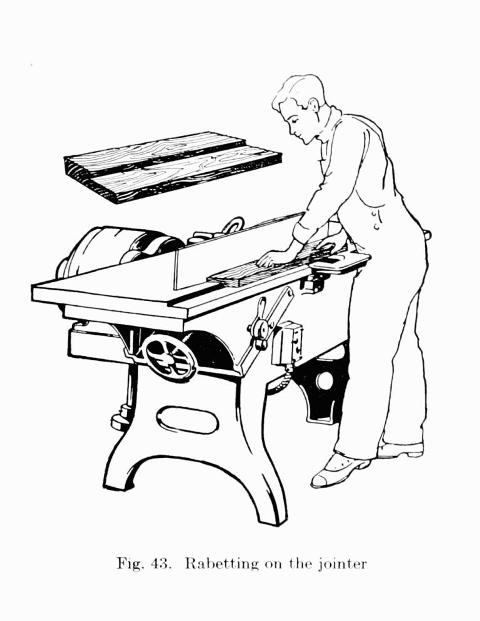
Fig. 44. Cutting miter joints
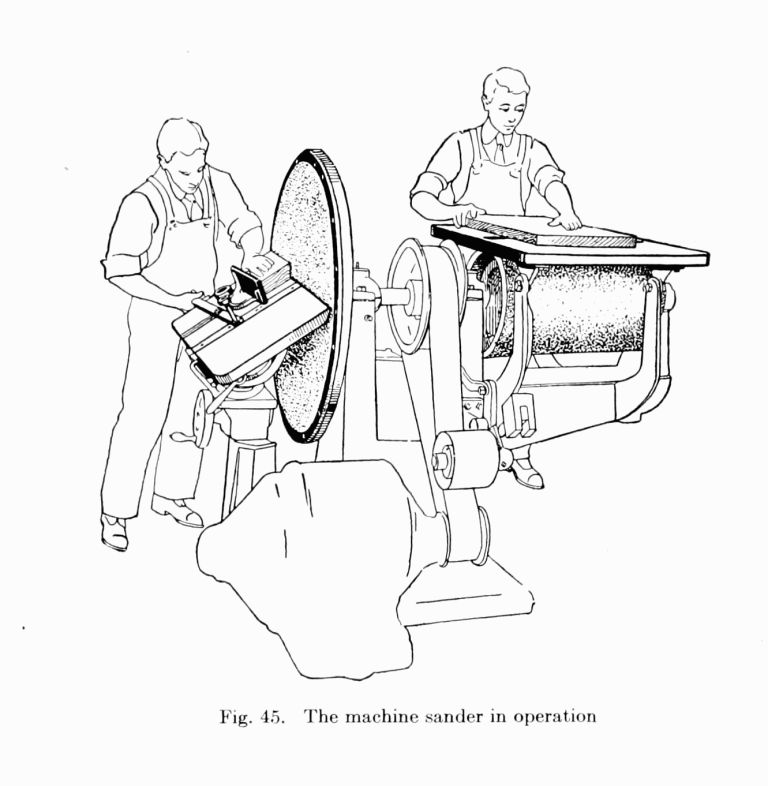
59. The Sander.—The sander is an interesting machine in the school shop for on it considerable "forming" can be done as with the lathe, altho its prime use is to make smooth or polish.
In Fig. 45 the boy at the left is forming a mitre while the one on the right is smoothing surface.
Fig. 45. The machine sander in operation